The College has procured a portable LED display that can be used as a scoreboard for sporting events or as a display for events.
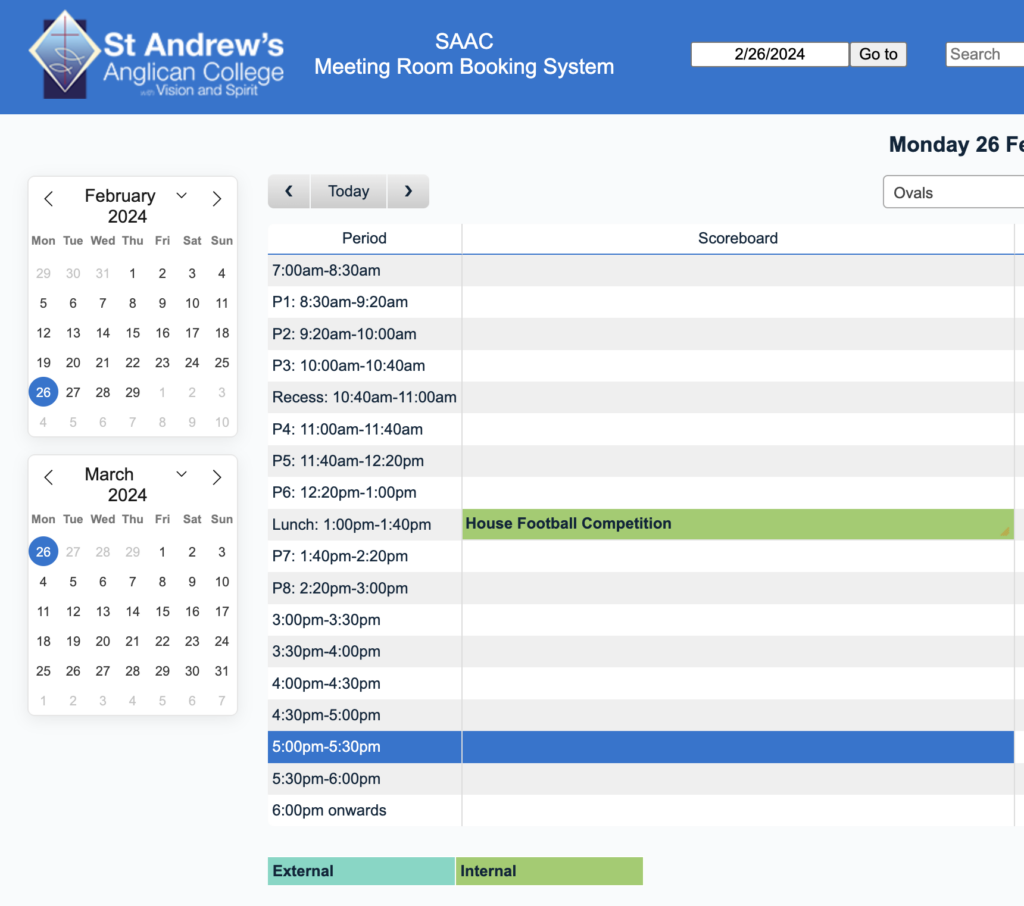
To make use of the screen, bookings can be made via the Meeting Room Booking System. Locate the scoreboard resource under the Ovals category. A separate Facilities request should be logged to ensure the Facilities team can move the screen into position using a golf buggy.
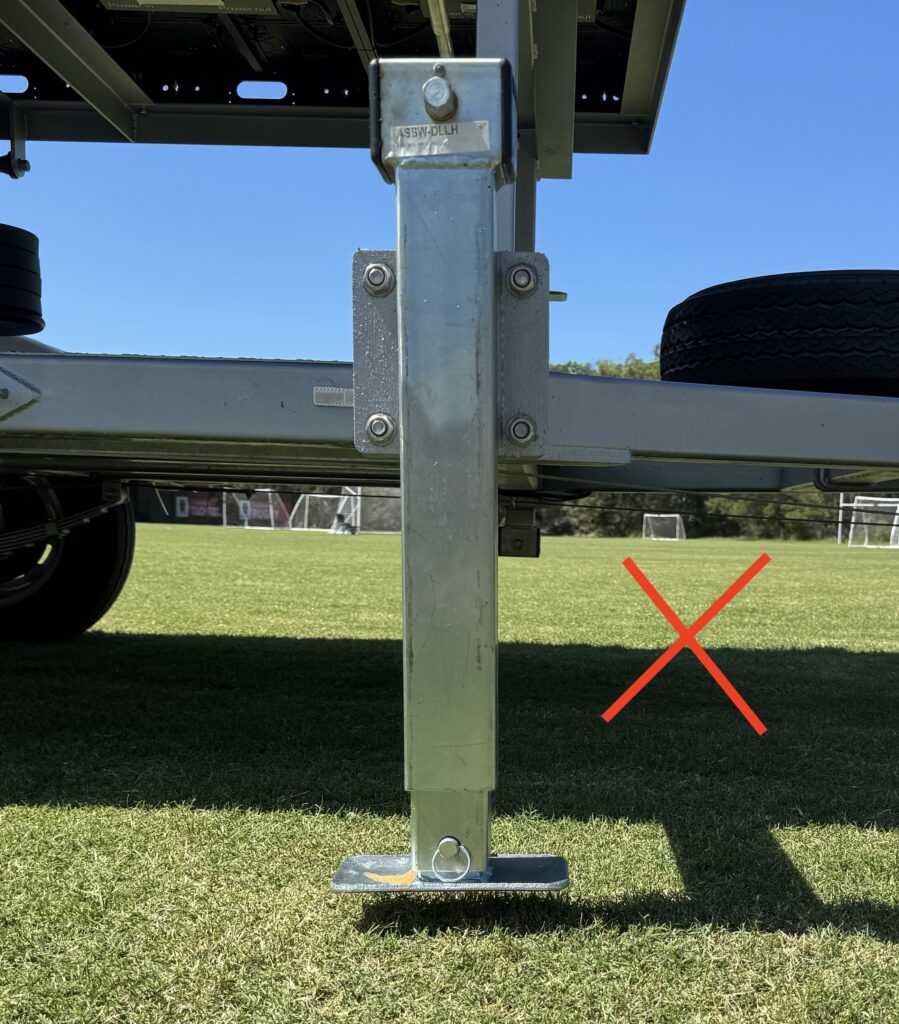
Requirements for use: Care should be taken to ensure the scoreboard is operated in appropriate conditions. As a safe wind loading has not been provided by the supplier, it is paramount that the operator assess the wind strength before and during use. The scoreboard may only be used with outriggers extended and contacting the ground. If wind increases during use, and there is doubts about the stability of the system, lowering the screen should be carried out immediately. Caution should also be taken to ensure electrical outlets and cables are not exposed to water, including wet grass.
Setting up the Scoreboard #
Positioning the scoreboard #
- Organise for the scoreboard to be towed into place. Disconnect the tow vehicle once the jockey wheel has taken the weight of the trailer.
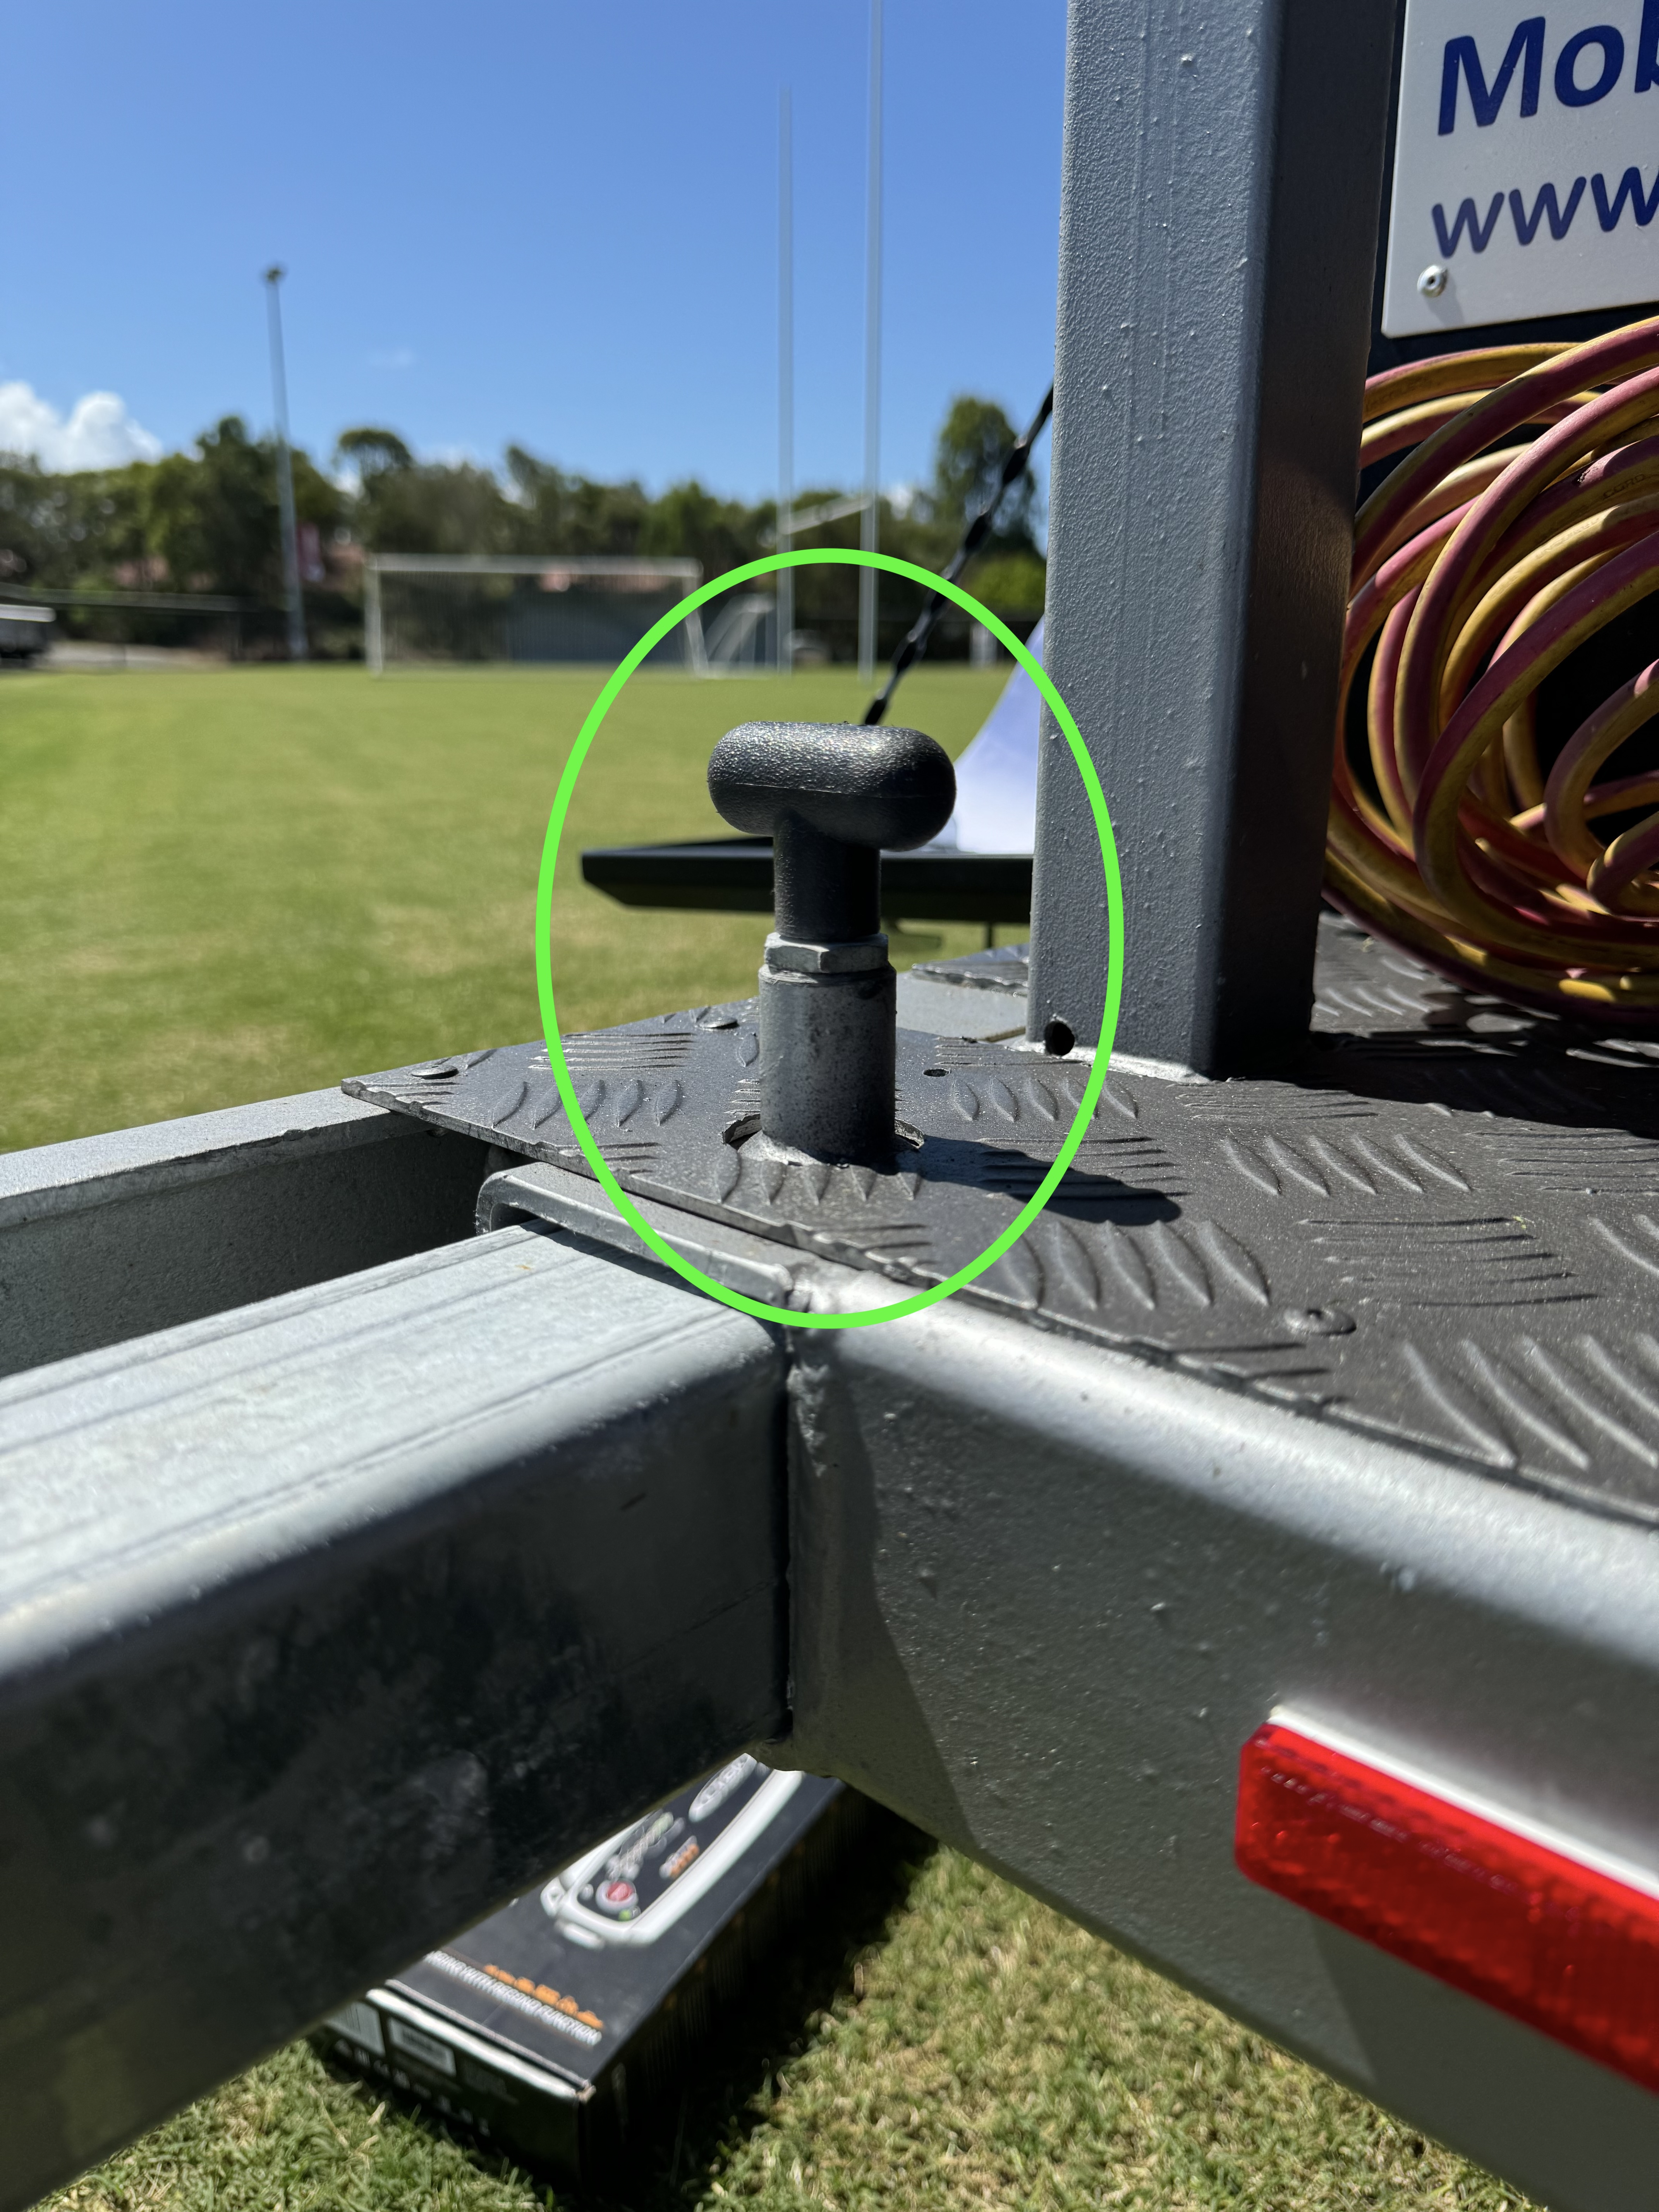
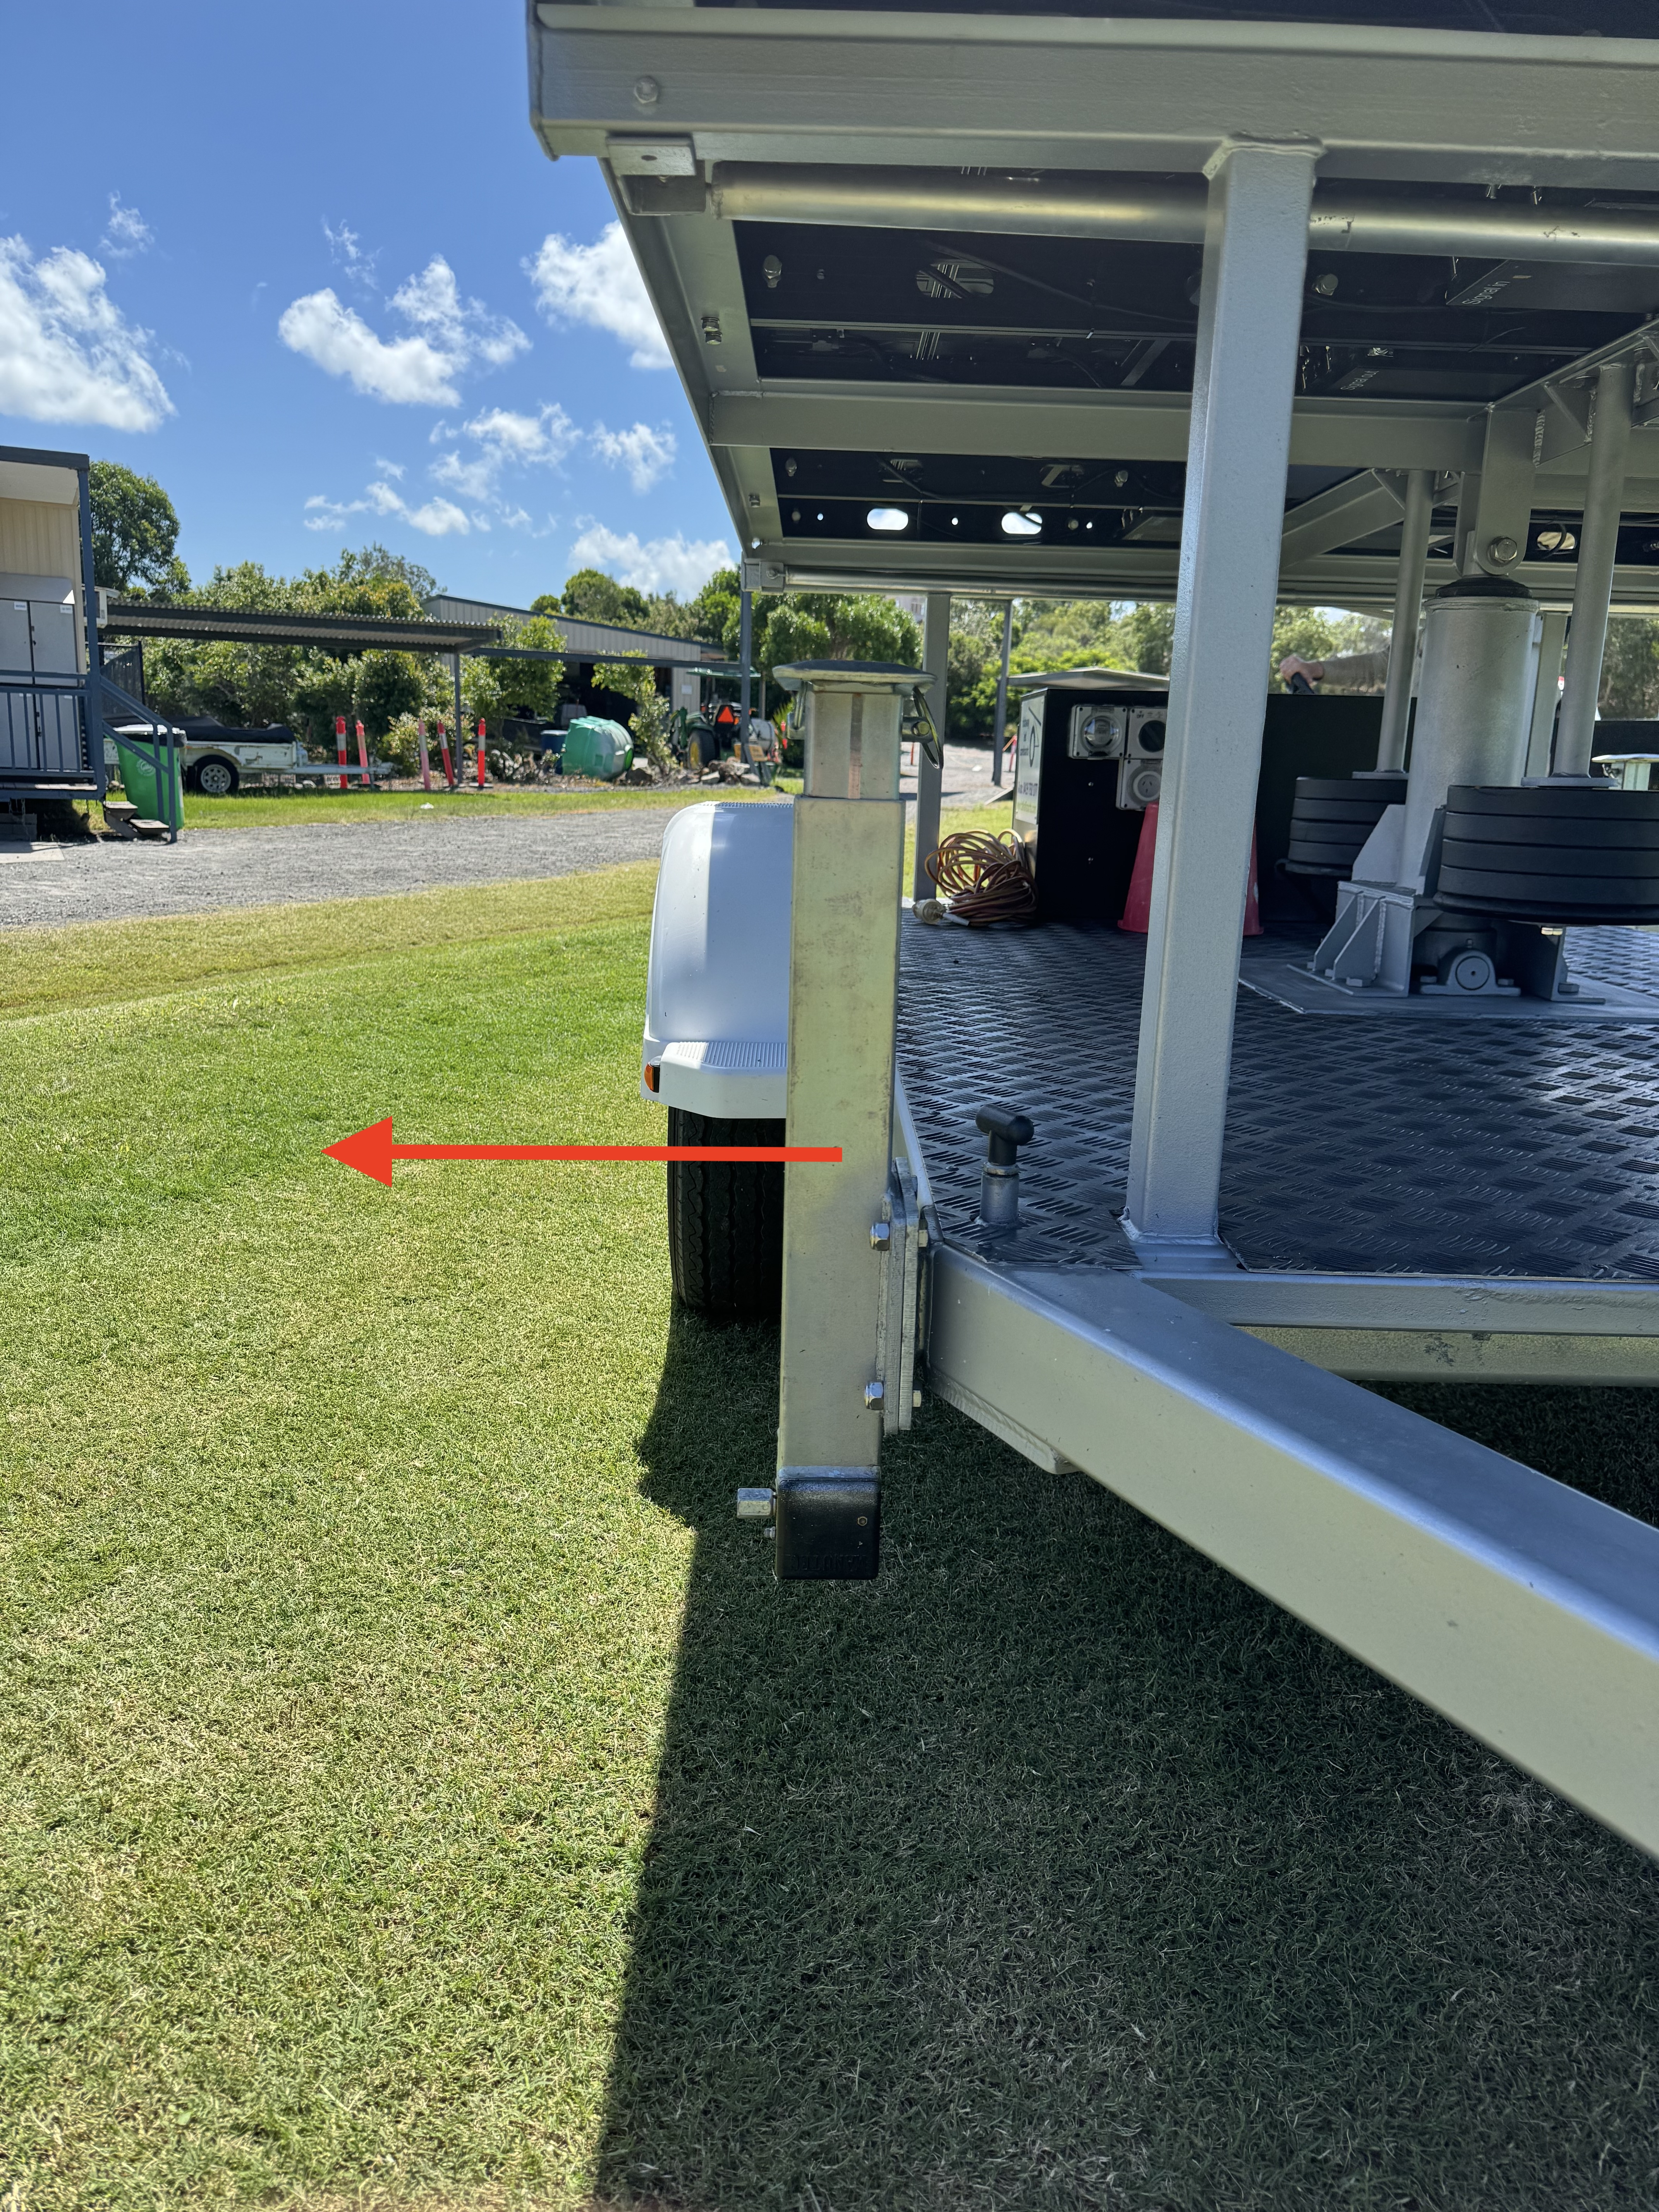
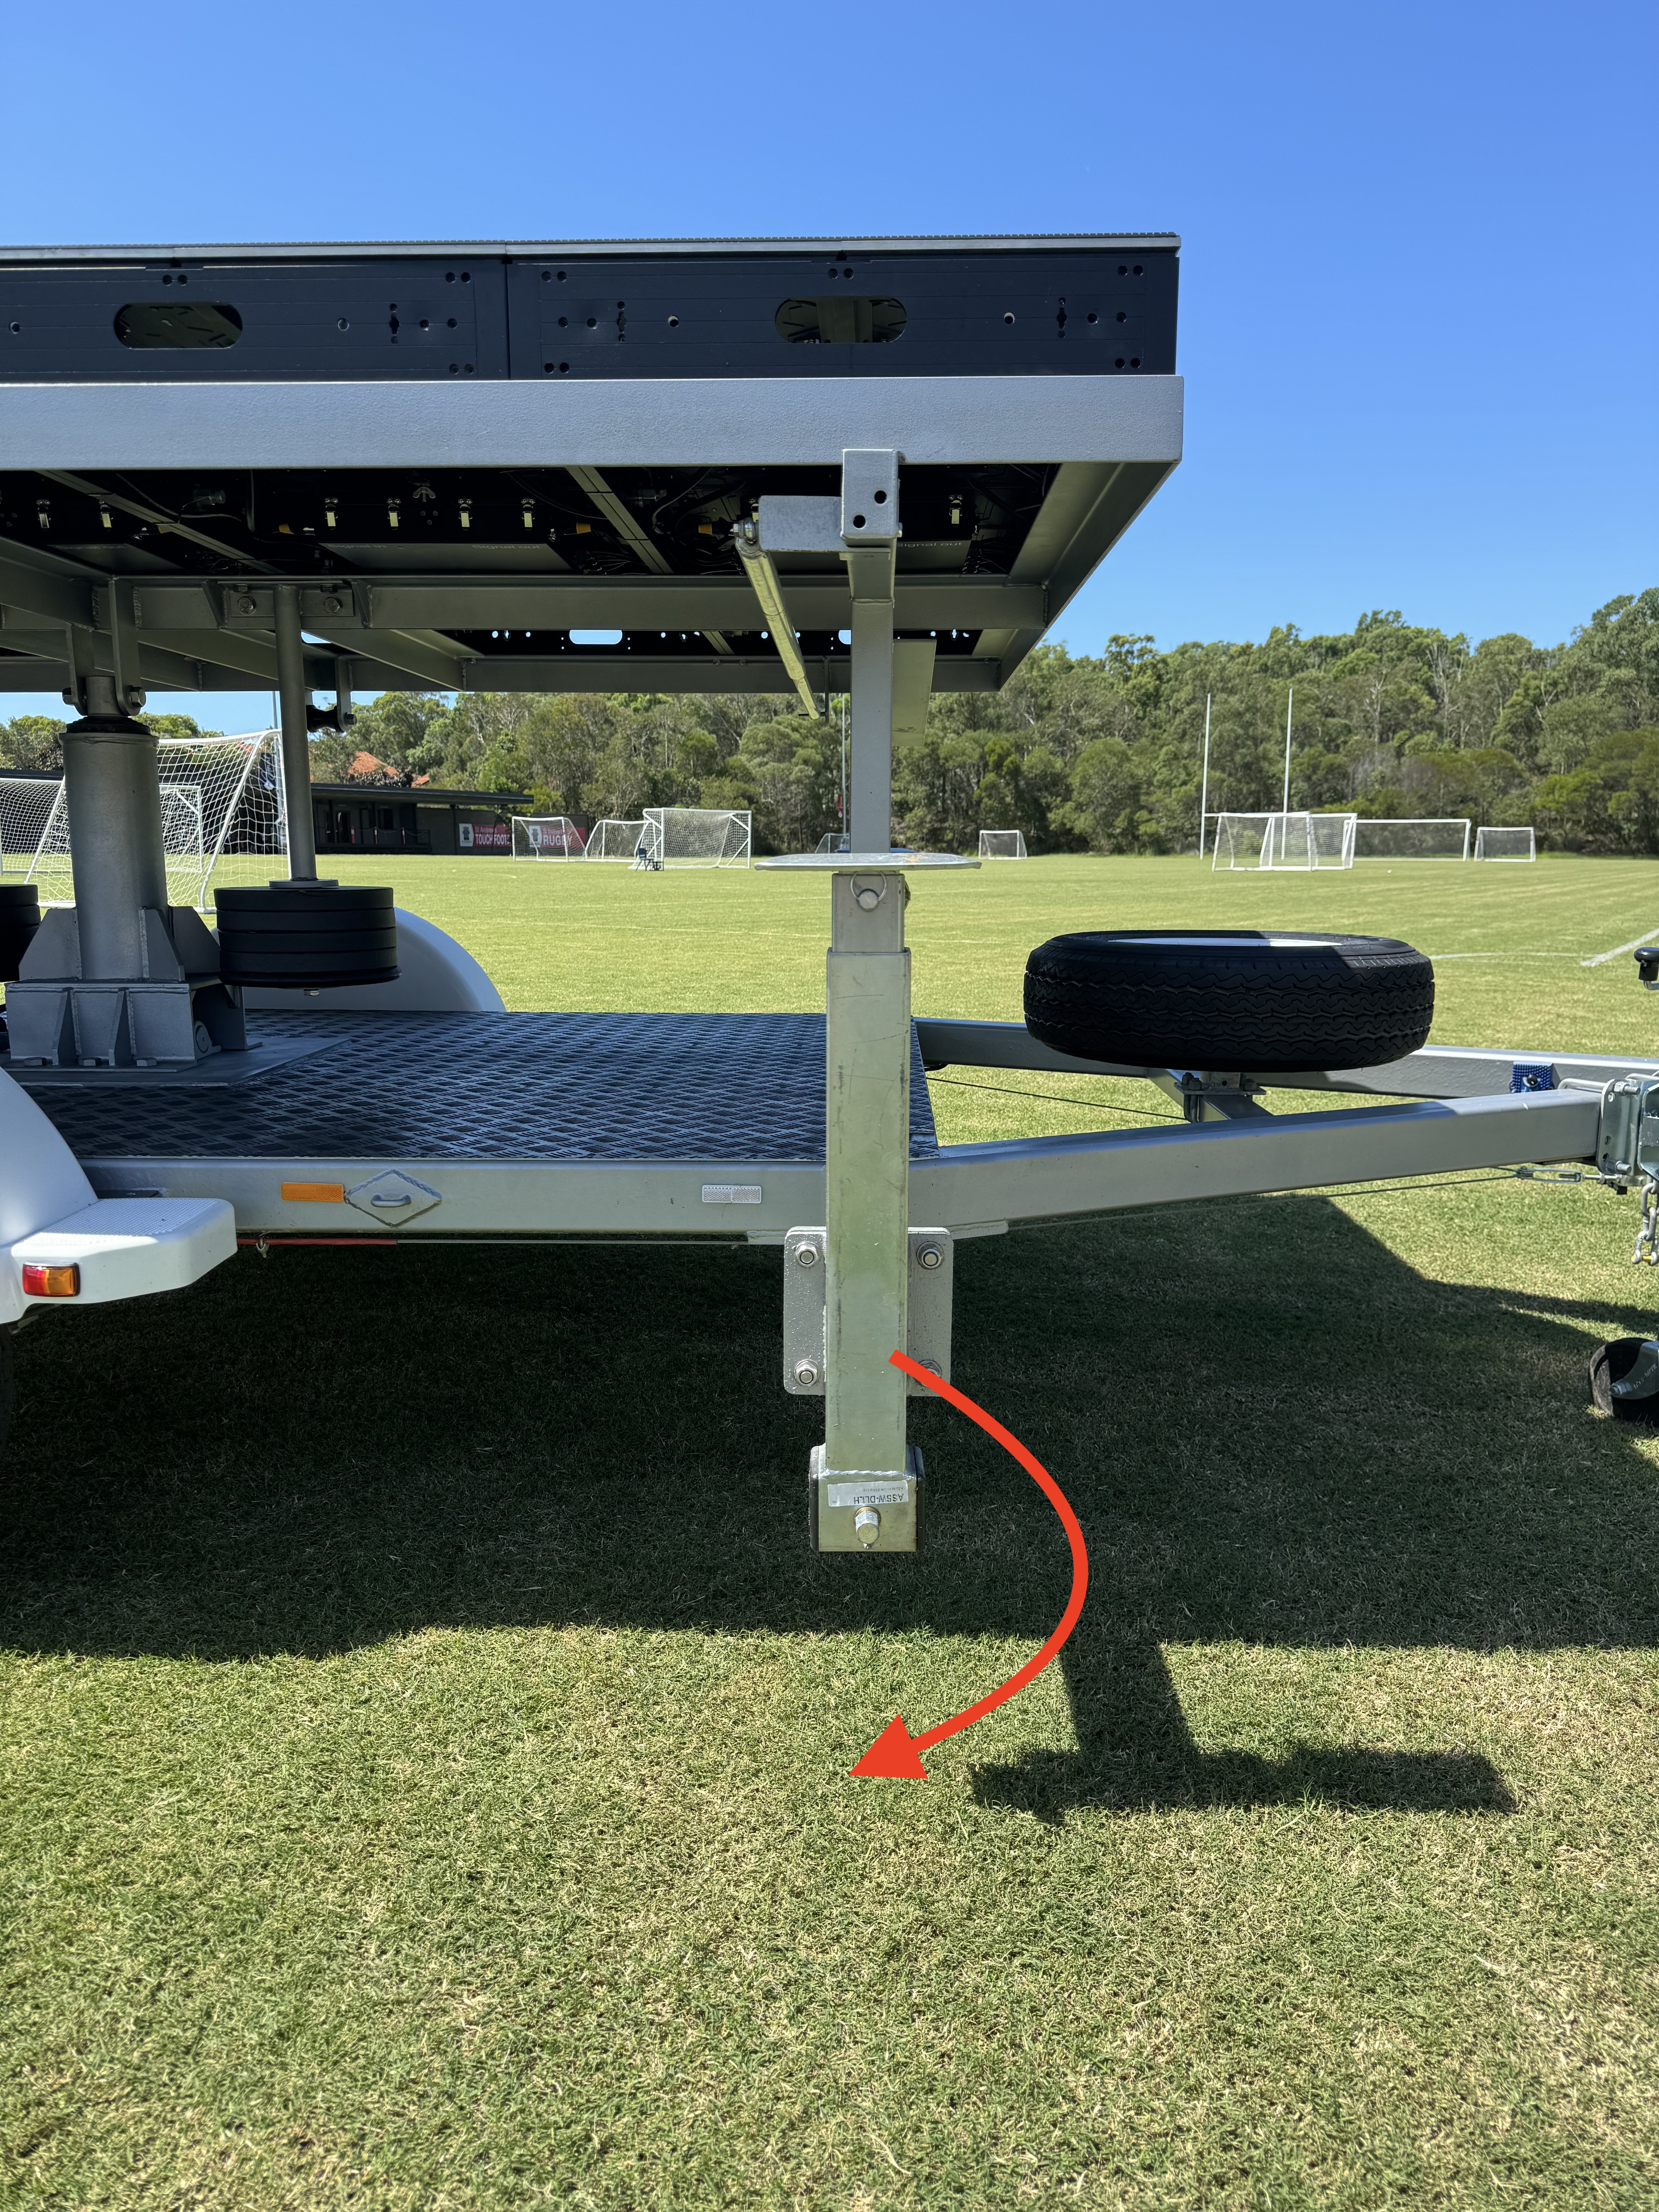
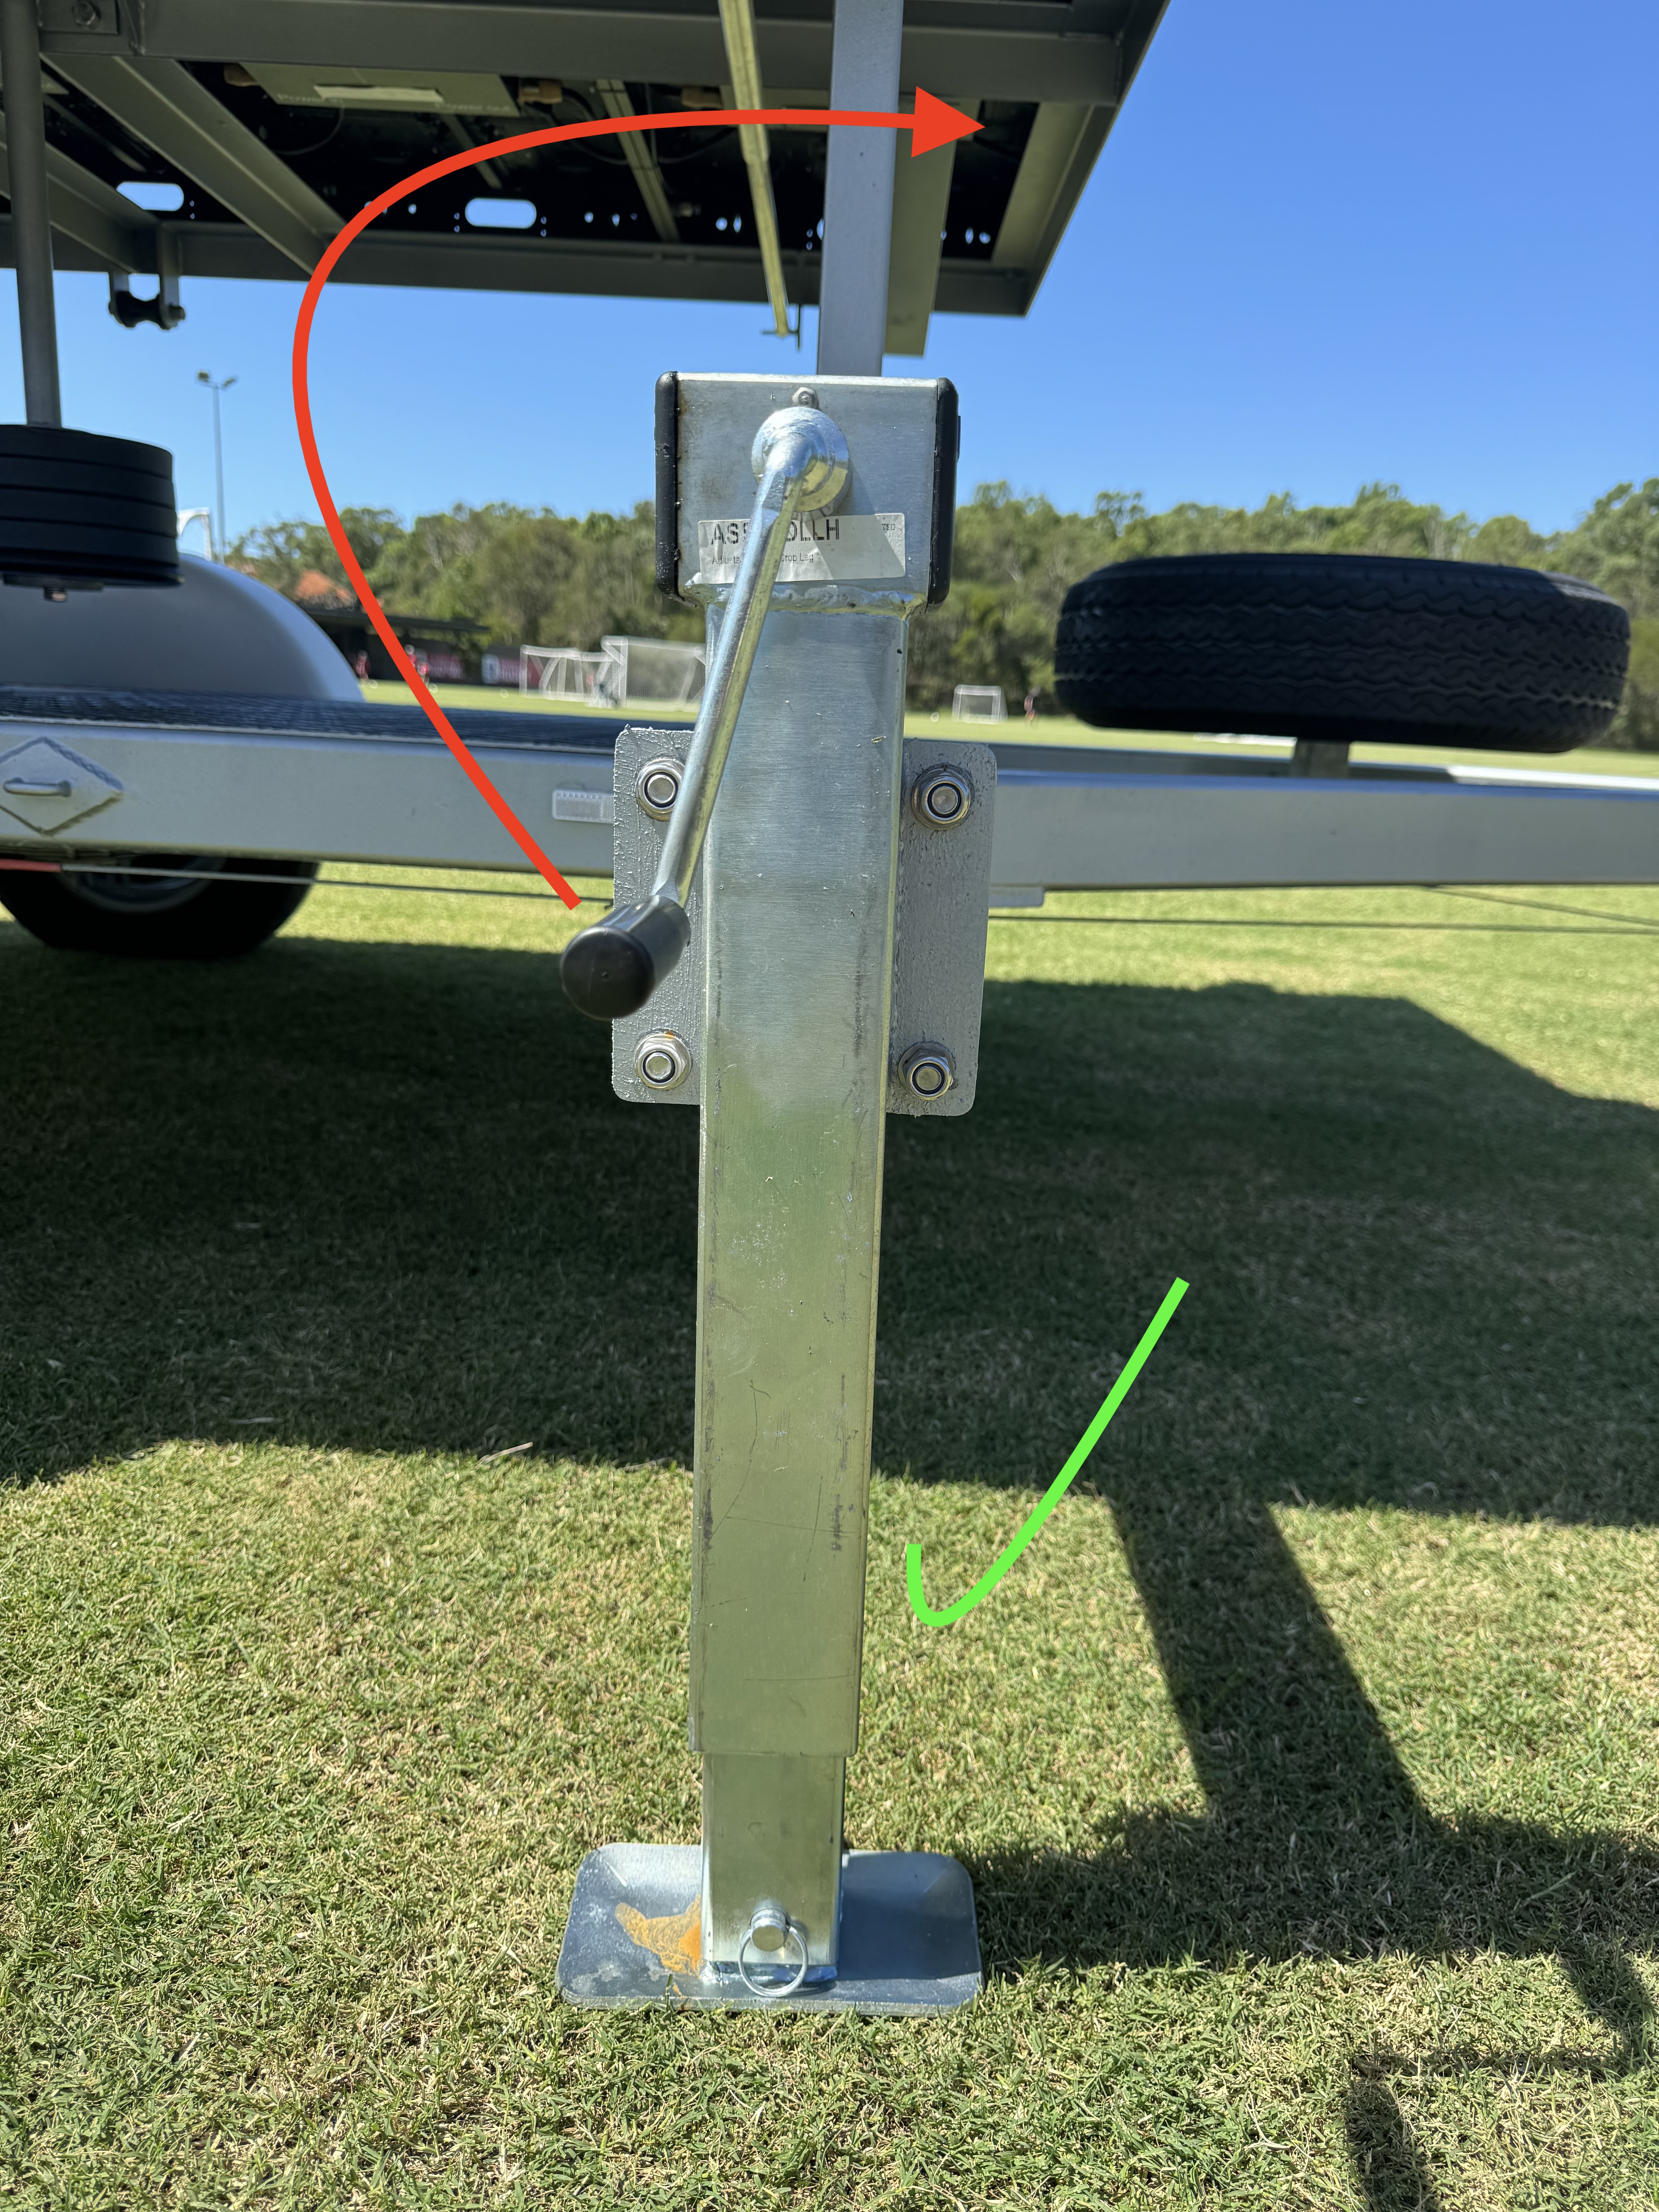
- Extend all 4 outriggers, by lifting locking pin, and rotating so that leg is down. Test that locking pin has been located in hole to ensure it cannot slide in our out accidentally.
- Use provided winch handle to extend leg until it makes firm contact with ground.
Raising Scoreboard #
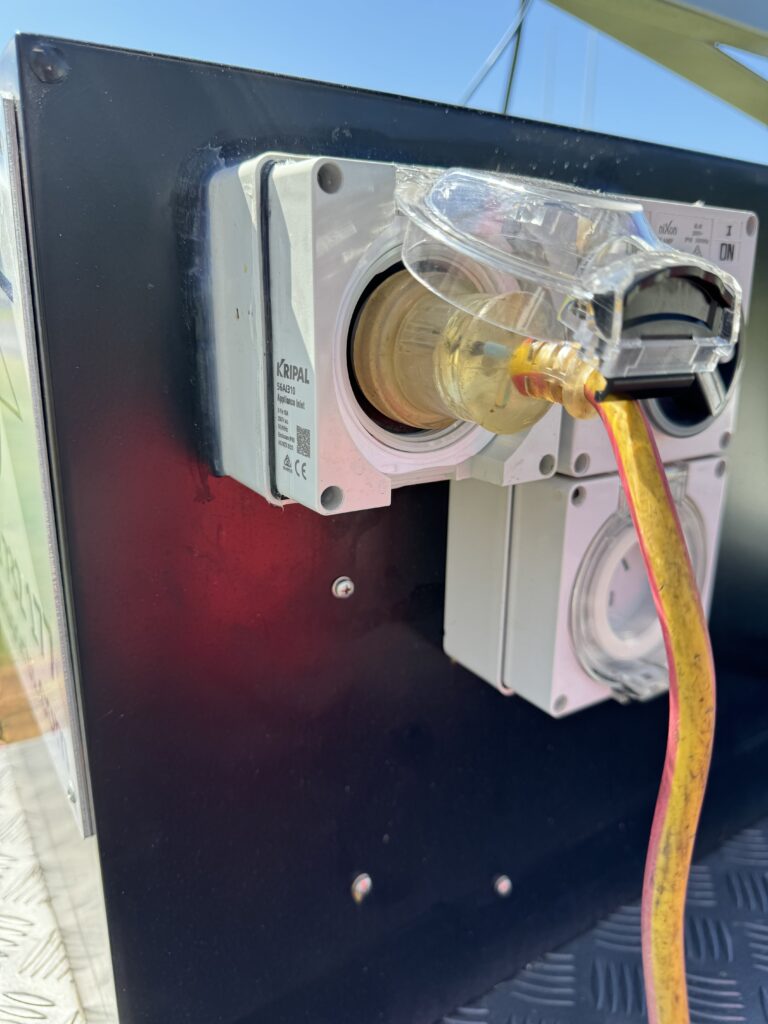
1. Connect 240V supply (10A) to power inlet. Ensure cable will not be pinched during raising of screen. Switch power on.
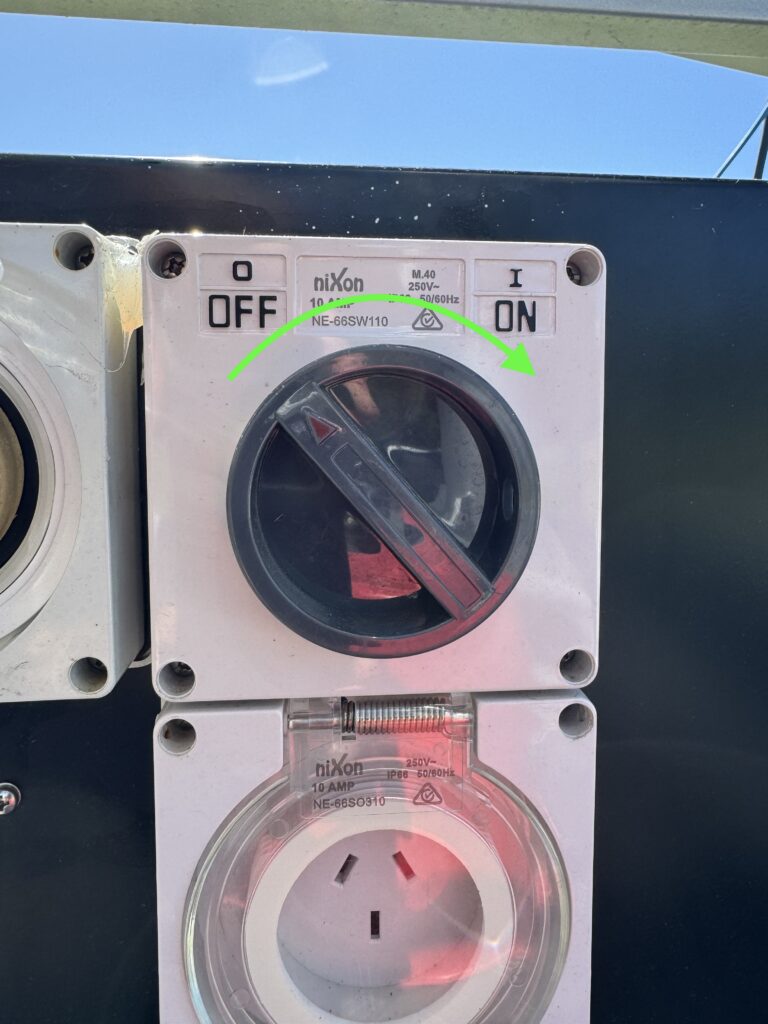
2. Open trailer box and once all people and equipment is clear of pinch points, use the orange remote to begin raising the screen. Screen will move along the horizontal guide until it is perpendicular with the ground and then begin to raise vertically. Once screen has become vertical, the screen can be stopped at the desired height.
Connecting to the scoreboard #
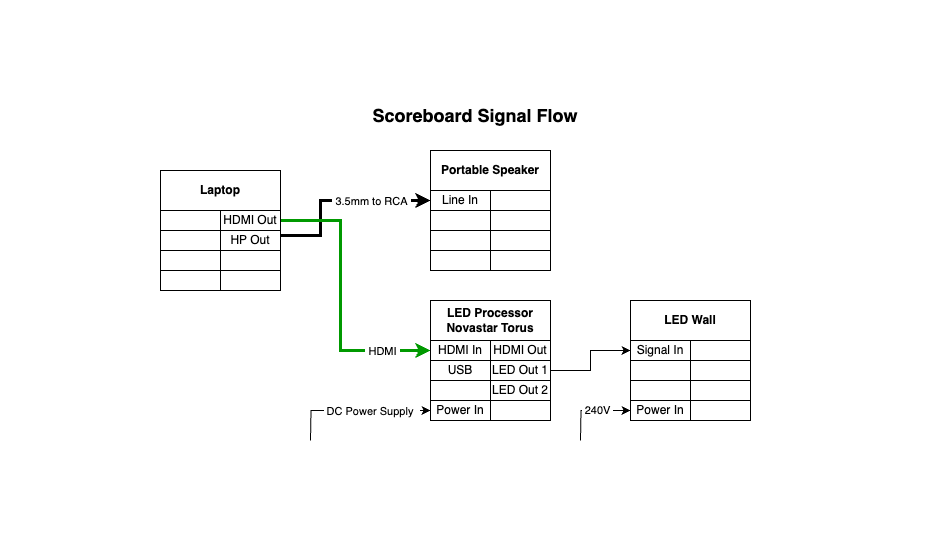
1. Remove the weather seal and connect the provided blue ethernet cable to the Signal In socket. This socket is located on the left side of the screen when viewing from the rear.
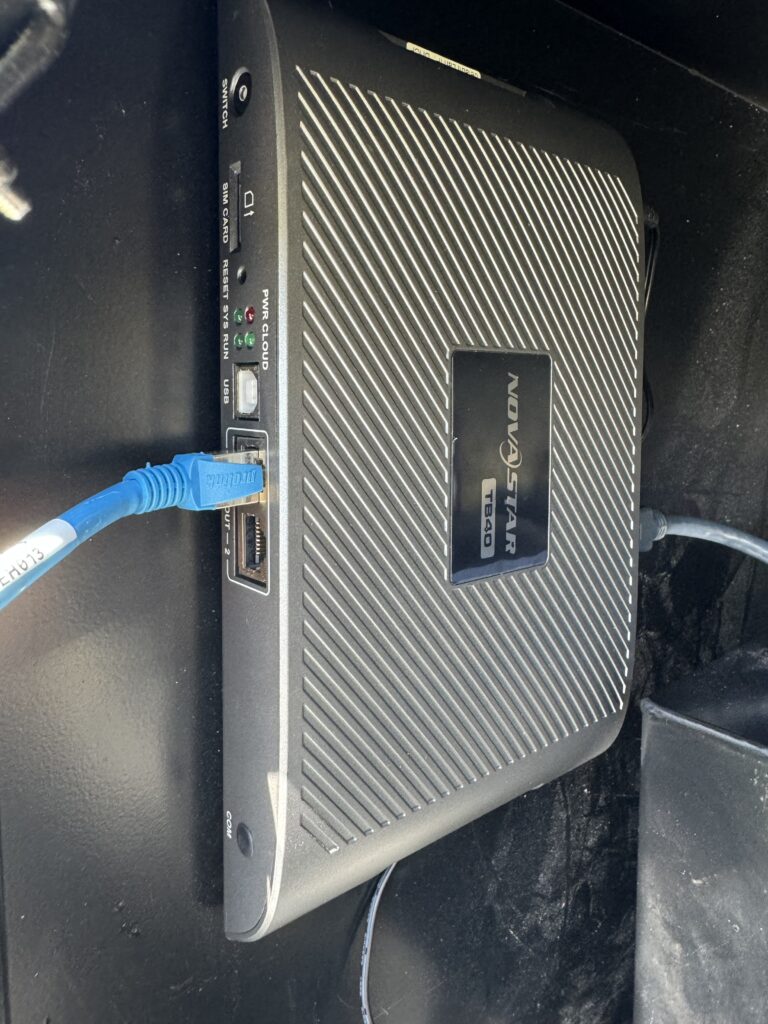
2. Connect the other end of the ethernet cable to the LED Out 1 socket on the Novastar Torus video processor.
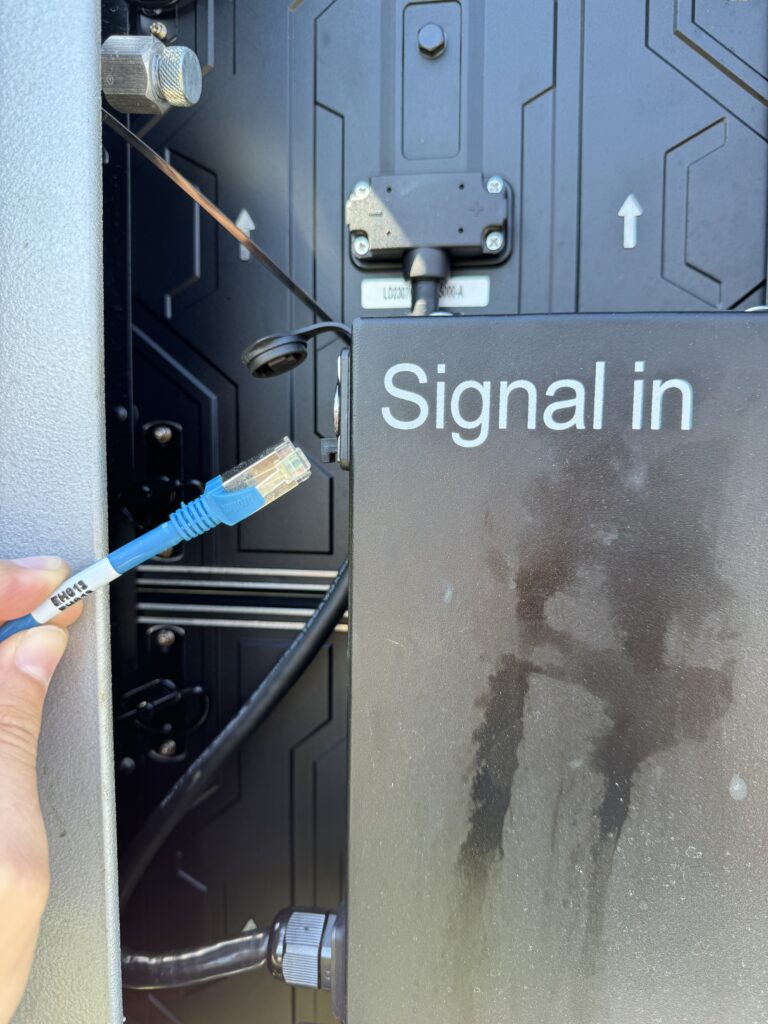
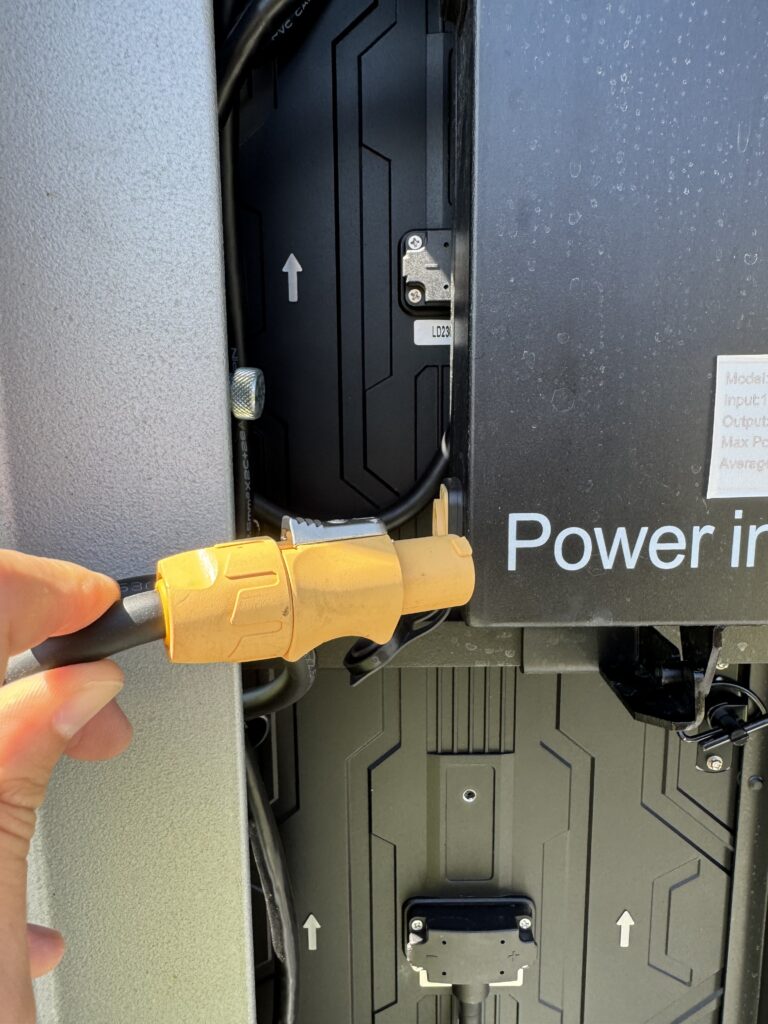
3. Connect the yellow end of the provided power cable to the Power In socket located below the Signal In socket. This connection uses a twist lock – orientate the plug to match the locating pins, insert and then twist the plug clockwise to lock. The other end of the power cable should always remain connected to the powerboard within the trailer box. Ensure this is connected securely.
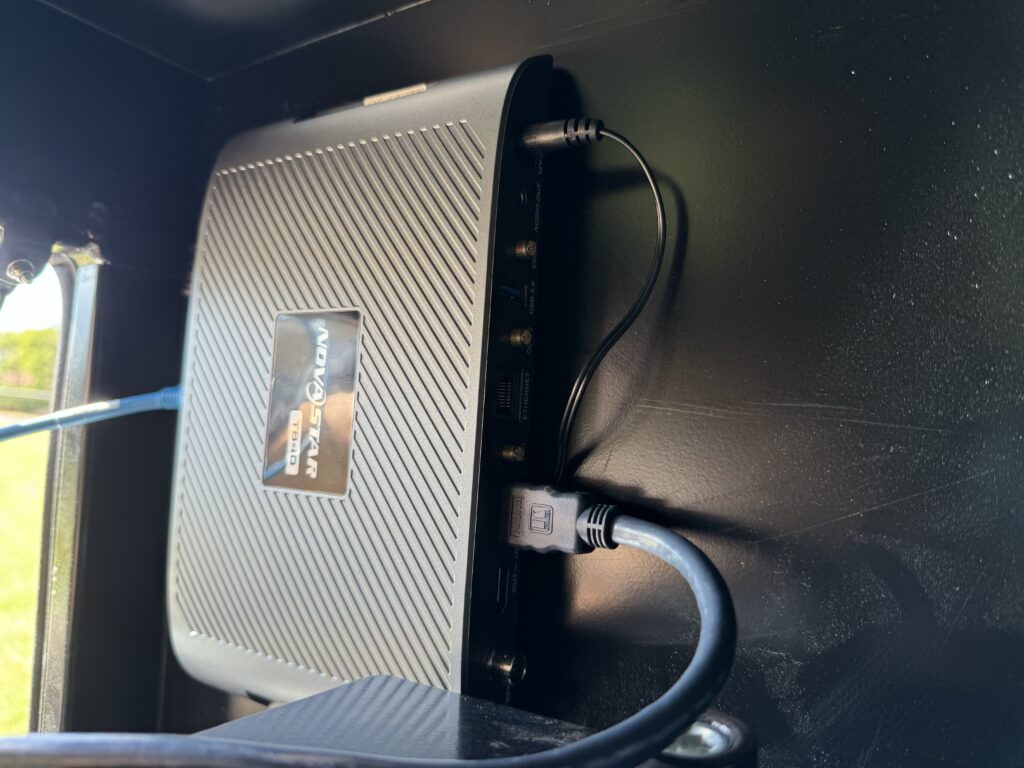
4. HDMI cable should already be connected to the HDMI In socket on the Novastar unit. Use this cable to connect your video source (laptop or other device) to the display. If there are no lights on the Novastar unit, ensure the power cable is securely connected to the back of the unit and also to the powerboard within the trailer box.
Scoreboard software #
The scoreboard has been supplied with a laptop with Talk scoring software for Rugby, Cricket and Football (Soccer). See the related user guides for each variant.
Signal Flow Diagram #