
You can use the Dictation feature in both Adobe Acrobat Pro (paid version) and Adobe Acrobat Reader (free version) to assist with typing, as well as the Read Out Loud function to help with reading.
This guide explains how to enable and use both Dictation and the Read Out Loud feature in Adobe Acrobat, which can be helpful for students or staff members who require support with typing or reading.
Enabling Dictation #
1. Open Adobe Acrobat Pro or Adobe Acrobat Reader.

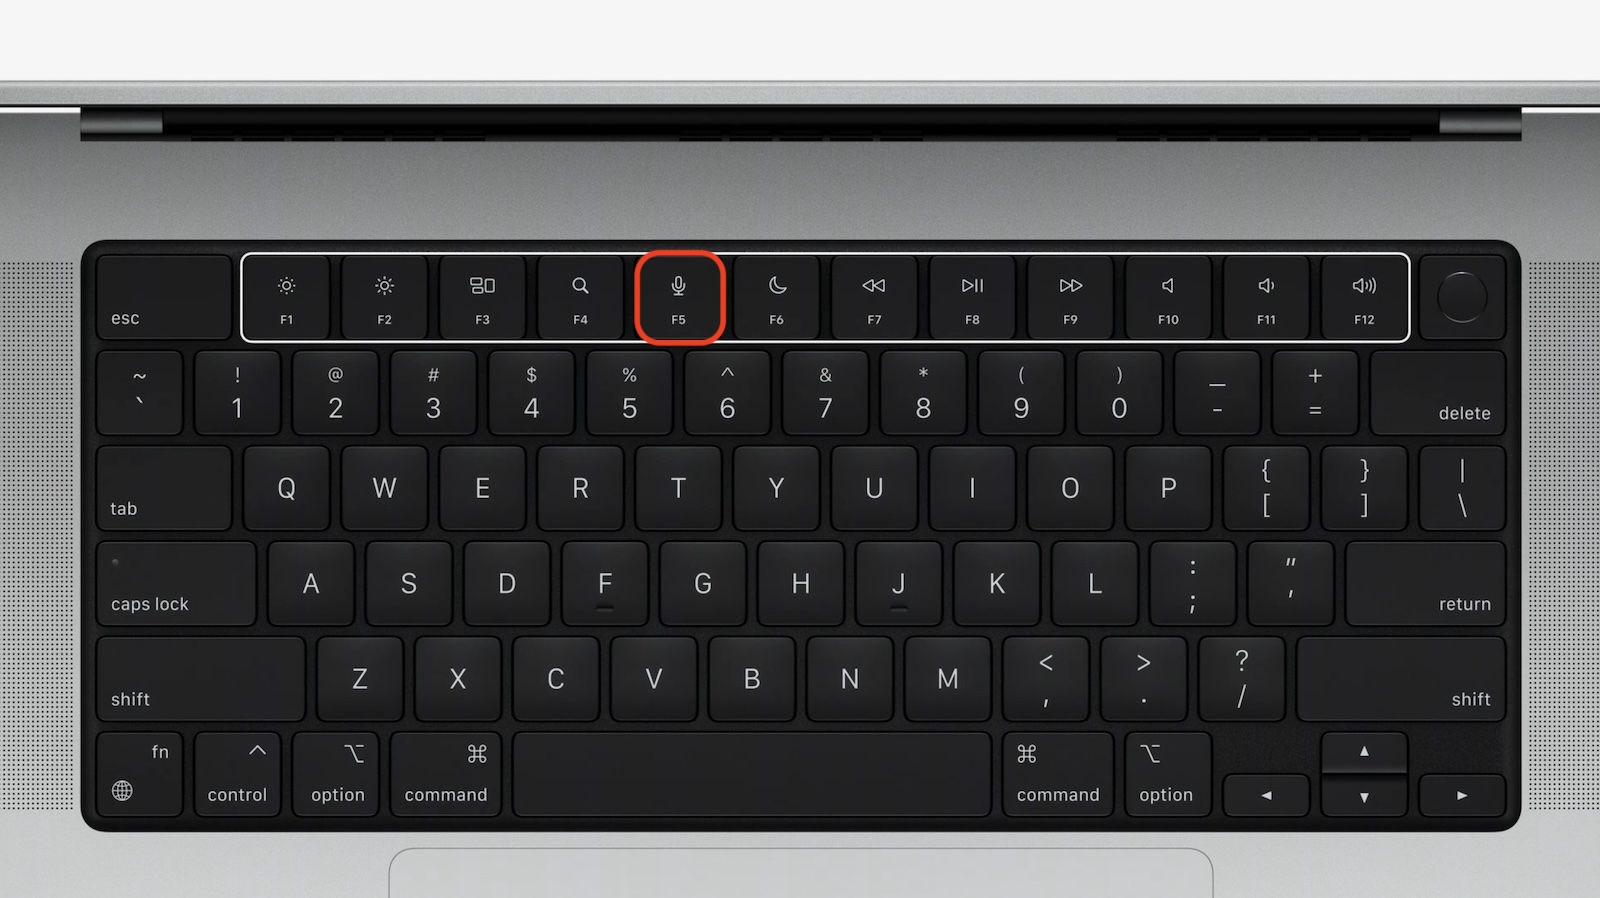
2. Press F5 on your keyboard (Microphone symbol), and you will get the following pop-up asking if you would like to enable Dictation.

3. Select OK, then a second window will appear asking if Dictation can be enabled, where you will need to select Enable.

4. A final window for Siri will ask if you would like to share audio recordings. This step isn’t necessary to enable Dictation, so you can select Not Now.

Alternatively, Dictation can be managed from within System Settings, by searching “Dictation”.

Using Dictation in Adobe Acrobat #
Now that dictation has been enabled, you can add new text to pdf’s in Adobe Acrobat, that have text input fields, by following the instructions below.
1. Select the section that requires text then Press F5 on your keyboard and a microphone symbol will appear.

3. Start speaking until everything has been said, then press return on your keyboard, and you will see the spoken text inputted on the selected box.

Enabling ‘Read out Loud’ in Adobe Acrobat #
With your PDF open in Adobe Acrobat Reader or Adobe Acrobat Pro;
1. Select View from the top menu bar.

2. Select Read Out Loud, then select Activate Read Out Loud

3. You can now highlight the text you want to read aloud, and a box will appear around the text. Make sure your volume is turned on.


NOTE: Listening back to dictated text, with text-to-speech, requires that you save the document first.