
To set Adobe Acrobat pro or reader for opening PDF Documents, you’ll have to do the following:
Downloading Adobe Reader #
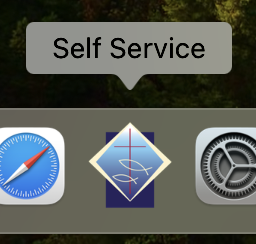
1. Open Self Service from the bottom dock
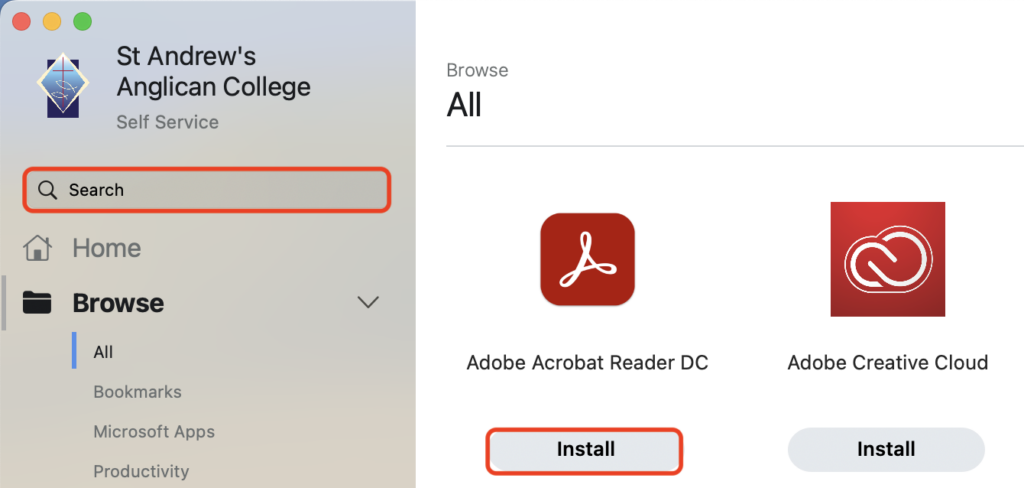
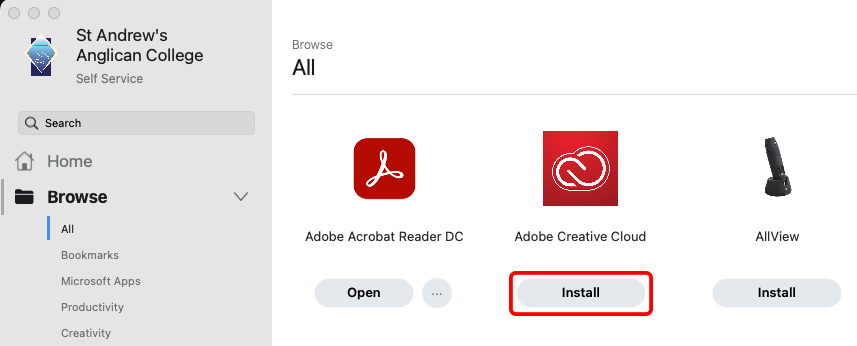
2. Search for Adobe Acrobat Reader DC in the top left menu and select Install.
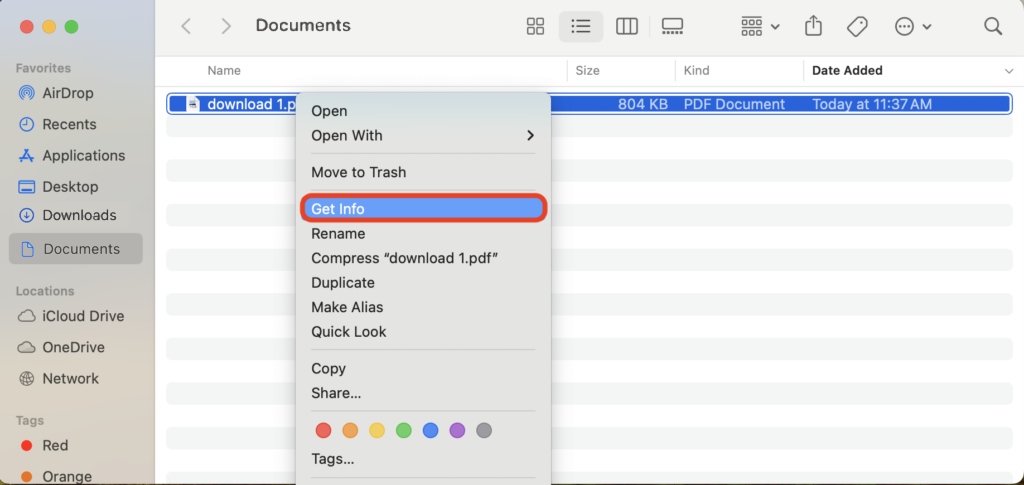
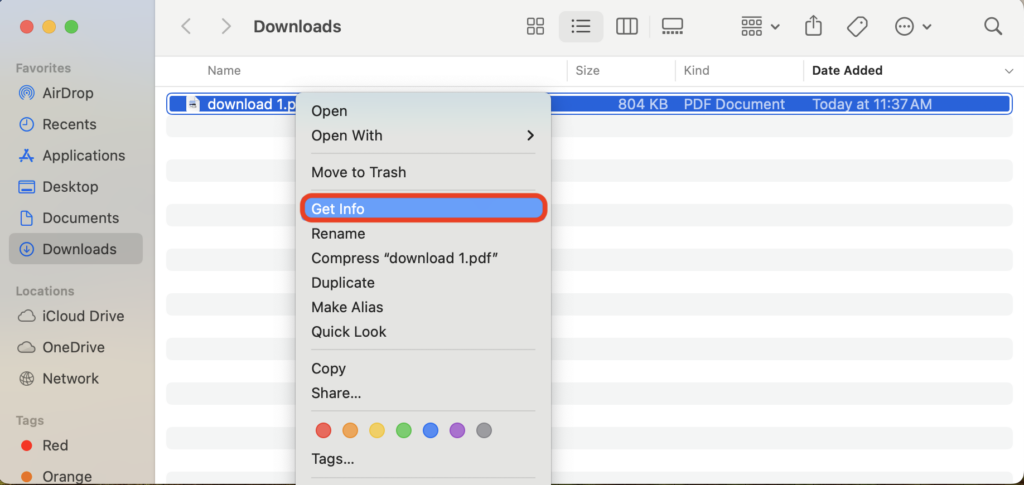
3. Once installed, find any PDF document, right click or two finger click and select Get Info
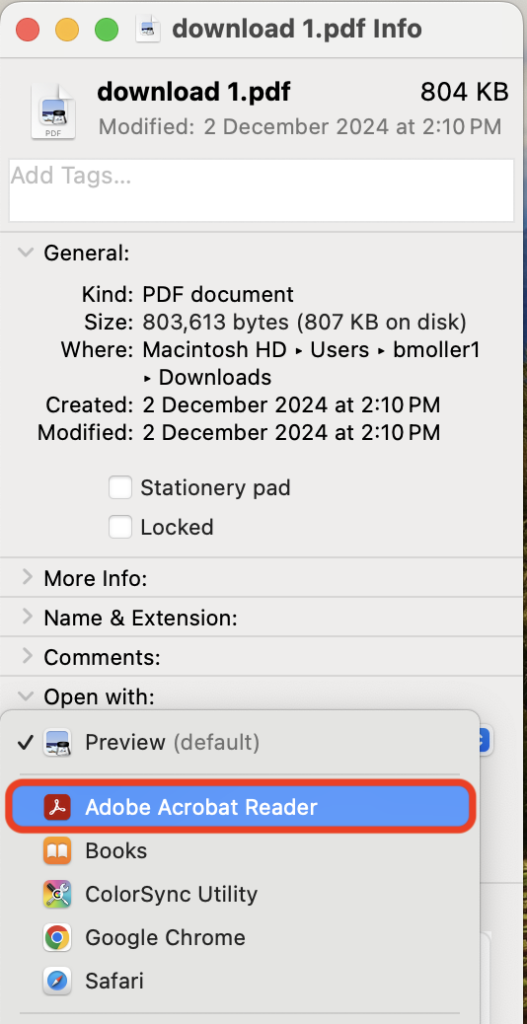
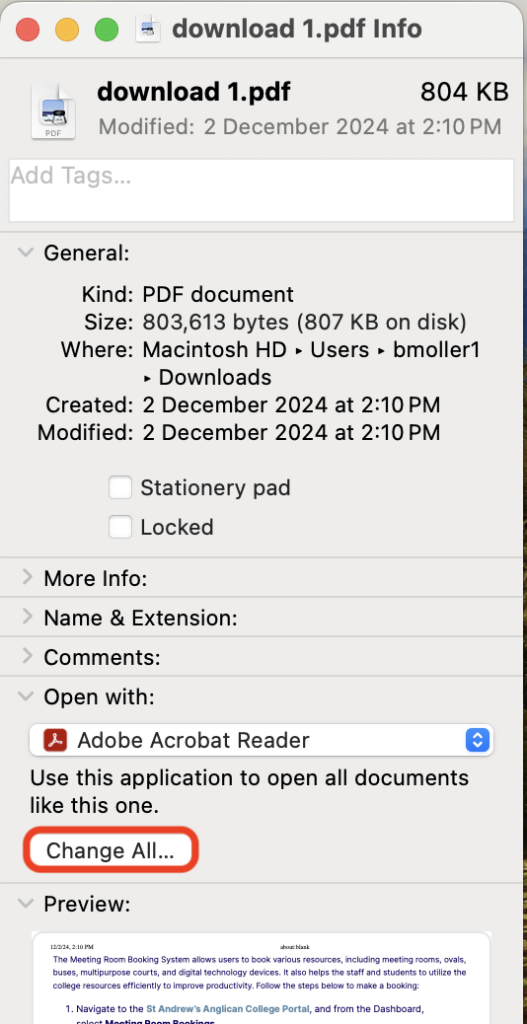
4. On the left hand side, a window will appear and select Open with
5. An option will show for the default app using Preview with all PDF Documents. To change this to Adobe, select Preview, choose Adobe Acrobat Reader DC or Adobe Acrobat, and then select Change All
Adobe Acrobat Pro #
1. Open Self Service, select Browse in the top left, find Adobe Creative Cloud and select install
2. Once Adobe Creative Cloud finishes downloading, it’ll open to the login page. If not, open Finder, select Applications, open Adobe Creative Cloud folder, and run Adobe Creative Cloud


3. When Adobe Creative Cloud has opened, select “Continue with Google”

4. Google will then open and you’ll eventually see the following screen

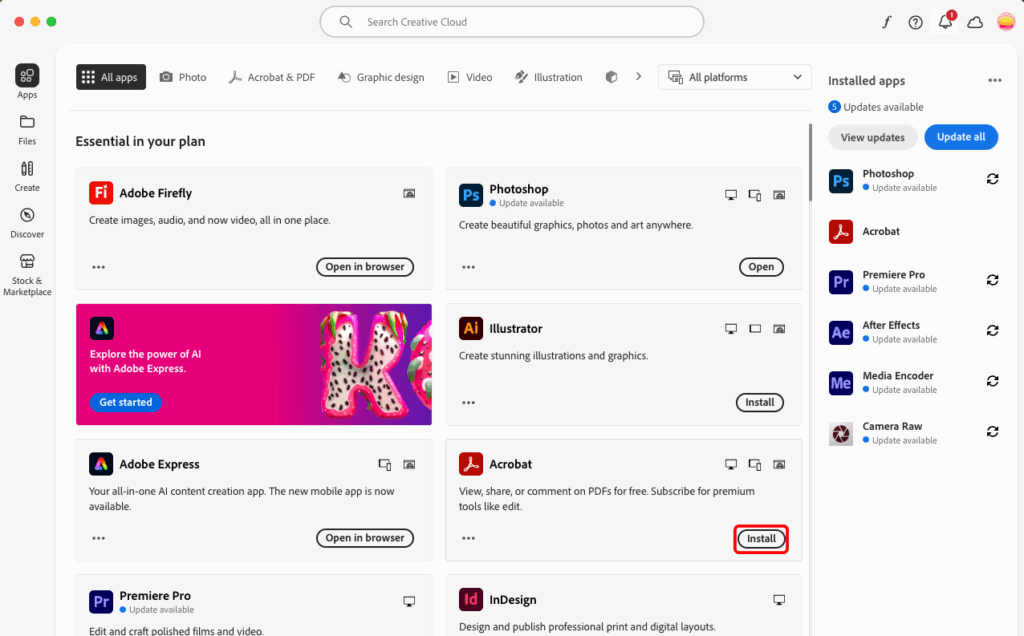
5. Adobe Creative Cloud will then start to load and you’ll see the list of Adobe apps available. Locate Adobe Acrobat and select install
6. Once installed, find any PDF document, right click or two finger click and select Get Info
7. On the left hand side, a window will appear and select Open with
8. An option will show for the default app using Preview with all PDF Documents. To change this to Adobe, select Preview, choose Adobe Acrobat, and then select Change All