A mobile video conferencing trolley is available for us in Classroom’s and Meeting Room’s across the campus. The trolley is equipped with a Video Bar (All-in-one camera, microphone and speaker) and only requires a single cable to be connected a user’s laptop to begin conferencing.
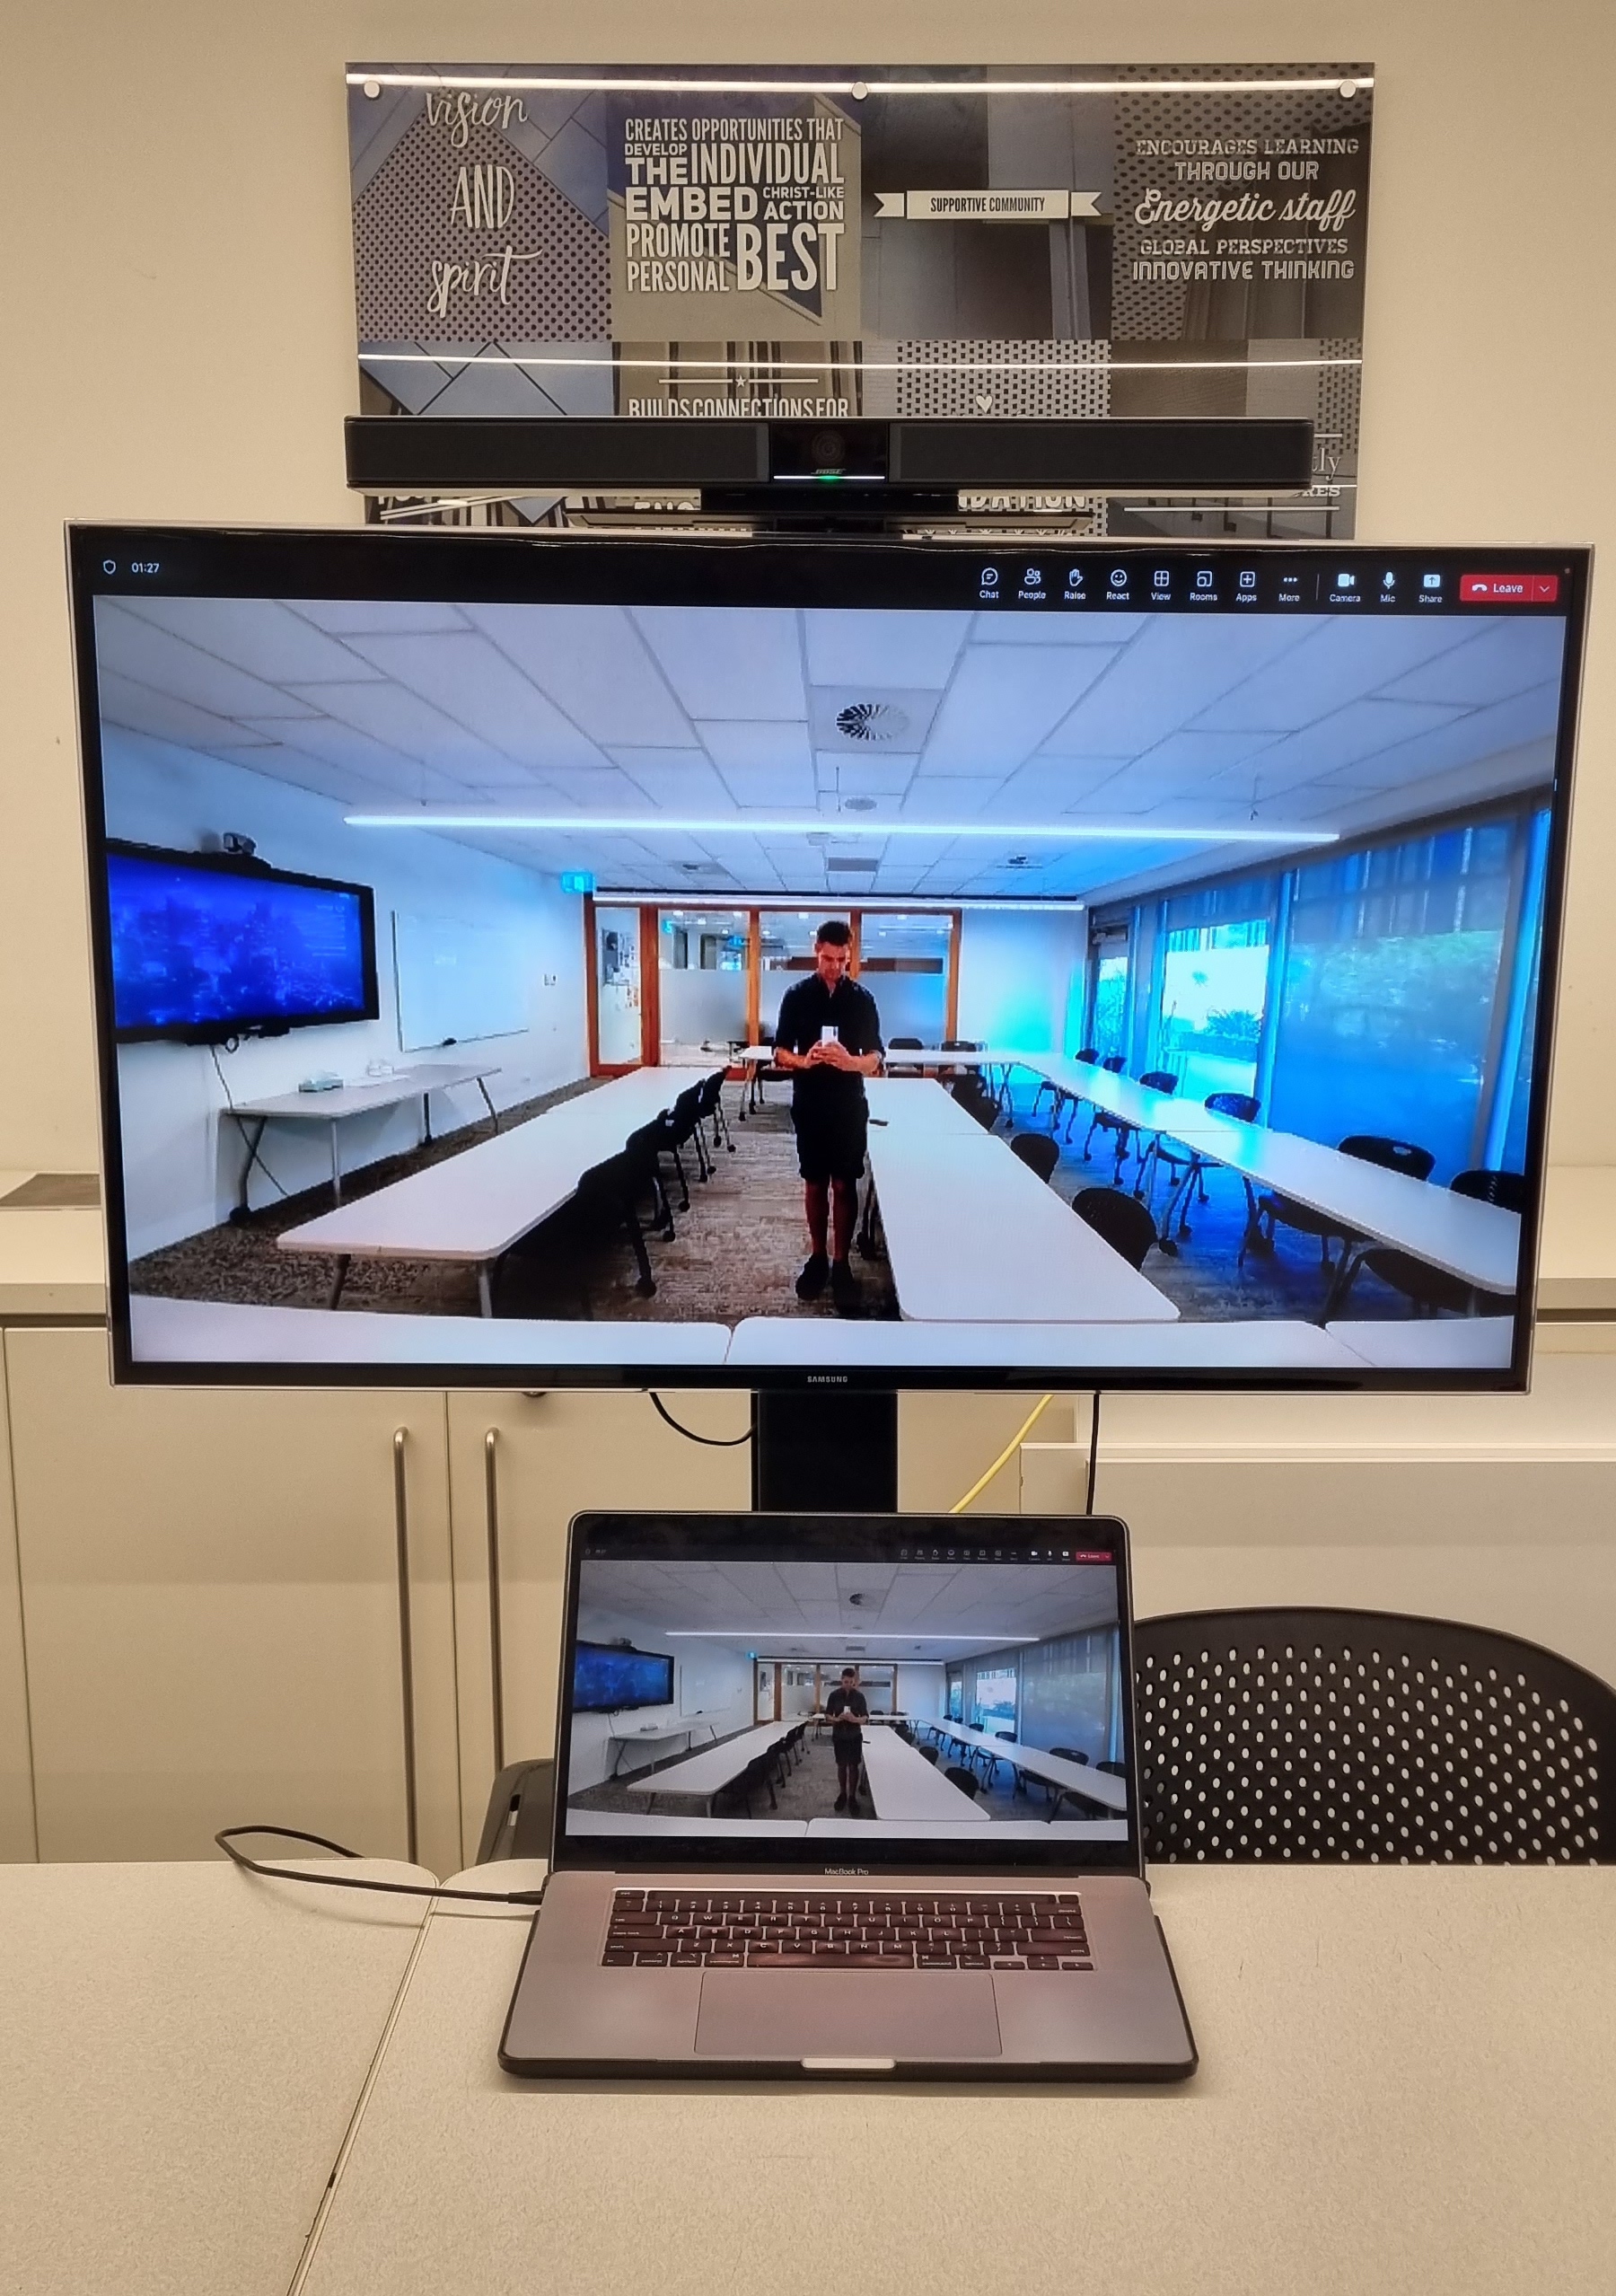
Microphone #
The microphone pickup range is approximately 7m so is a suitable for a medium classroom.
Camera #
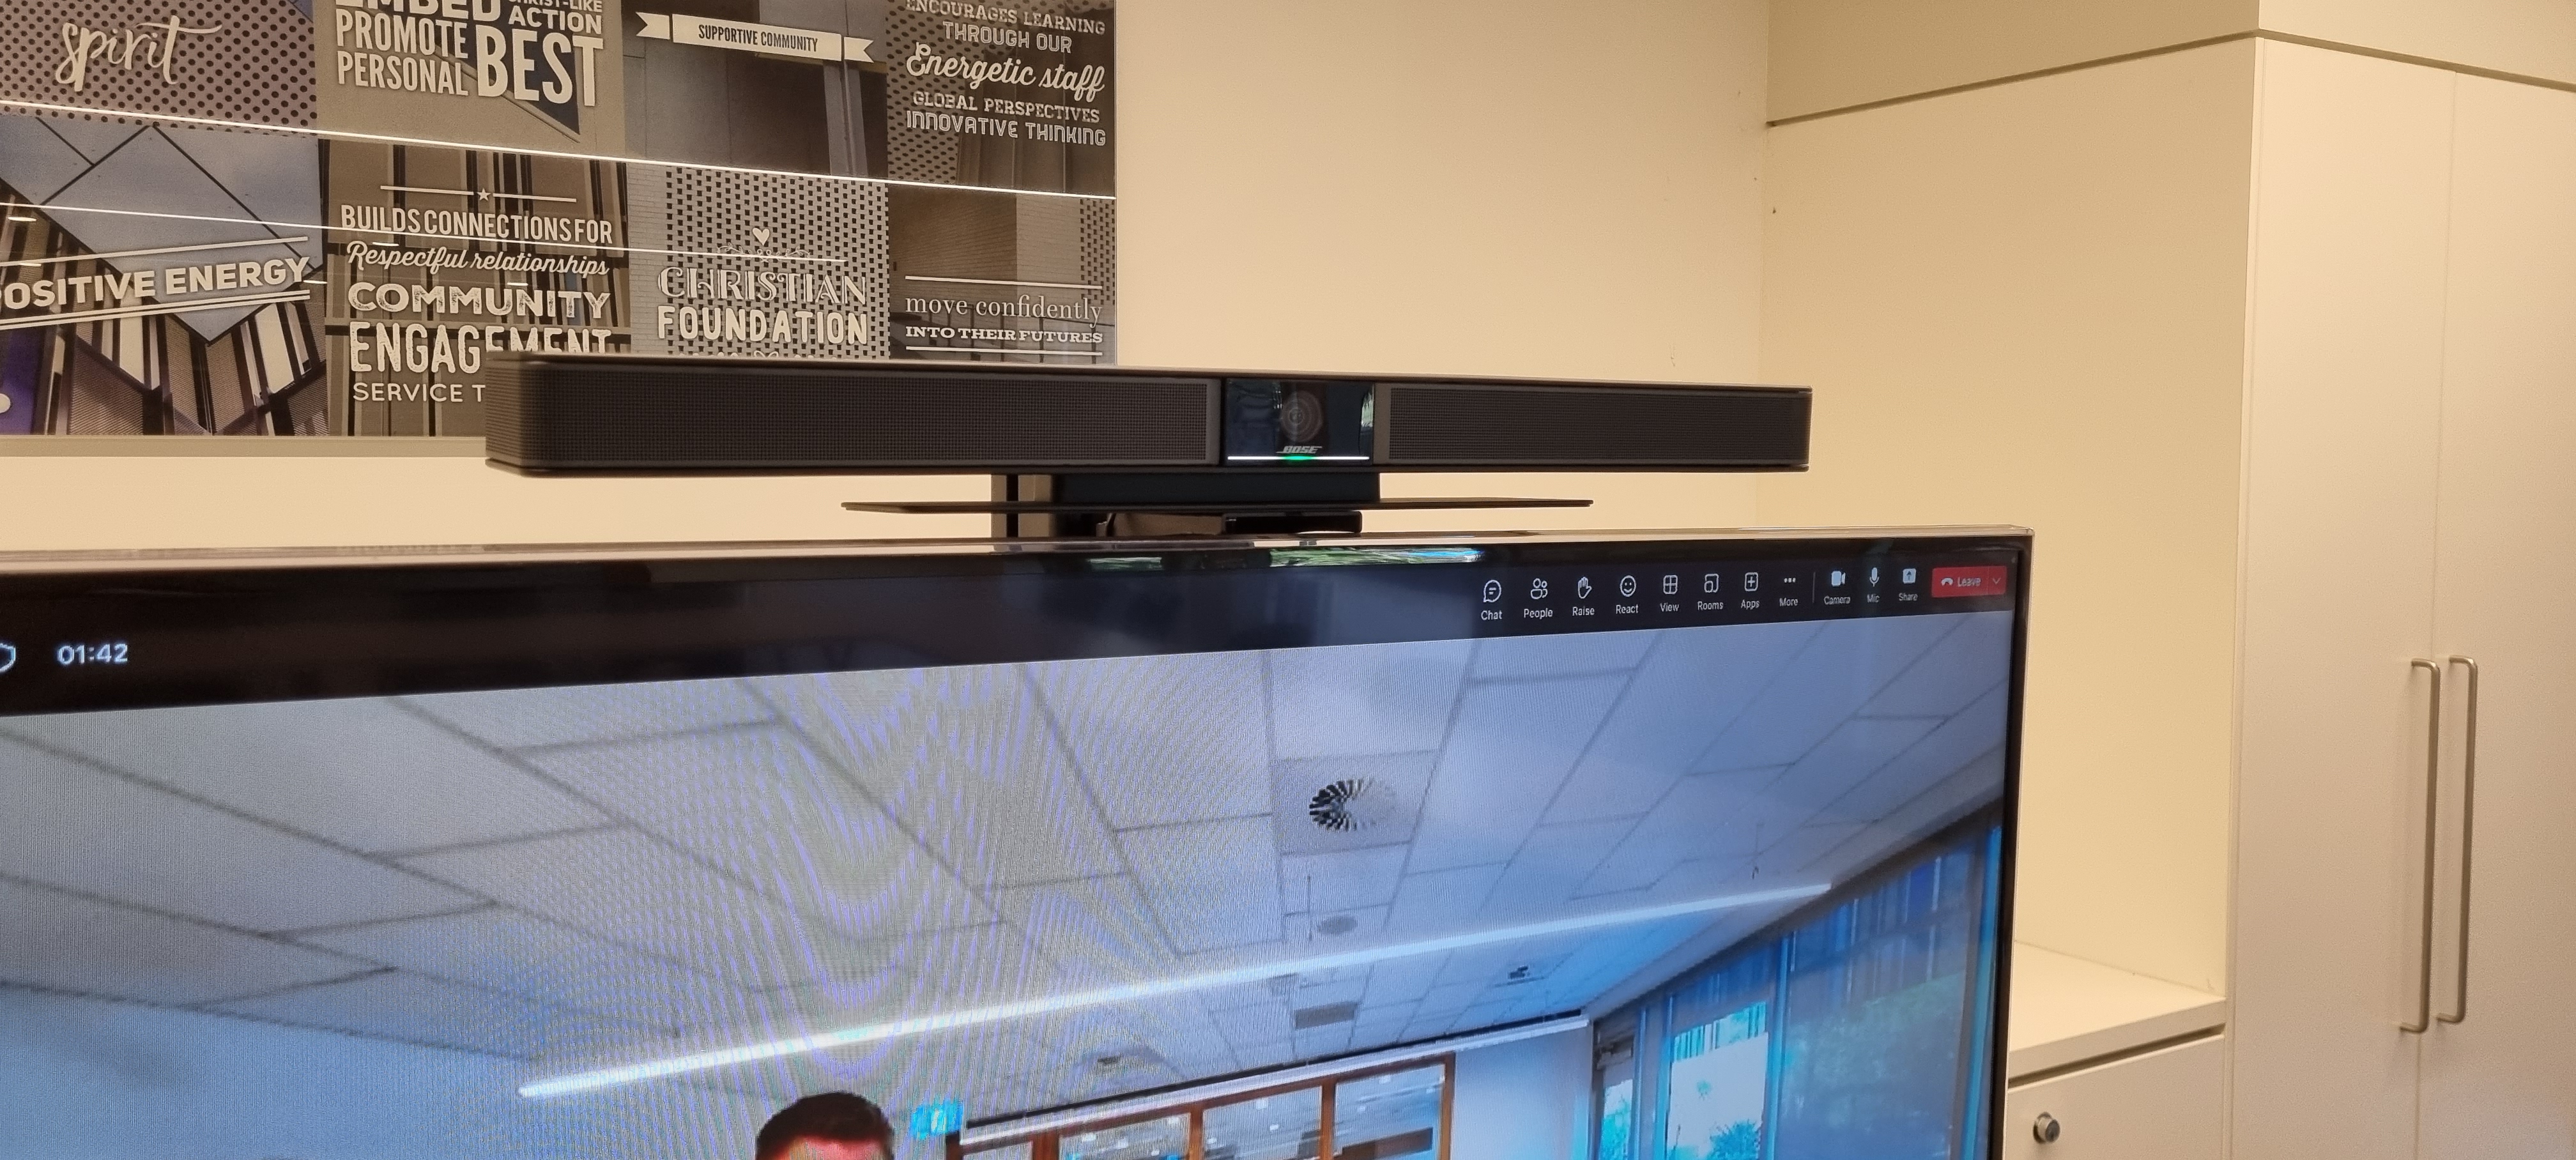
The Camera has a wide field of view and when positioned at the front of a class should not have a problem capturing the front row of the class. The camera has an auto-framing feature that will detect people in the room and adjust the camera settings to ensure all users are in frame. Users can toggle the auto-framing On and Off by pressing the auto-framing button.
When Auto-Framing is turned On the Green LED will…
Connecting to a MacBook #
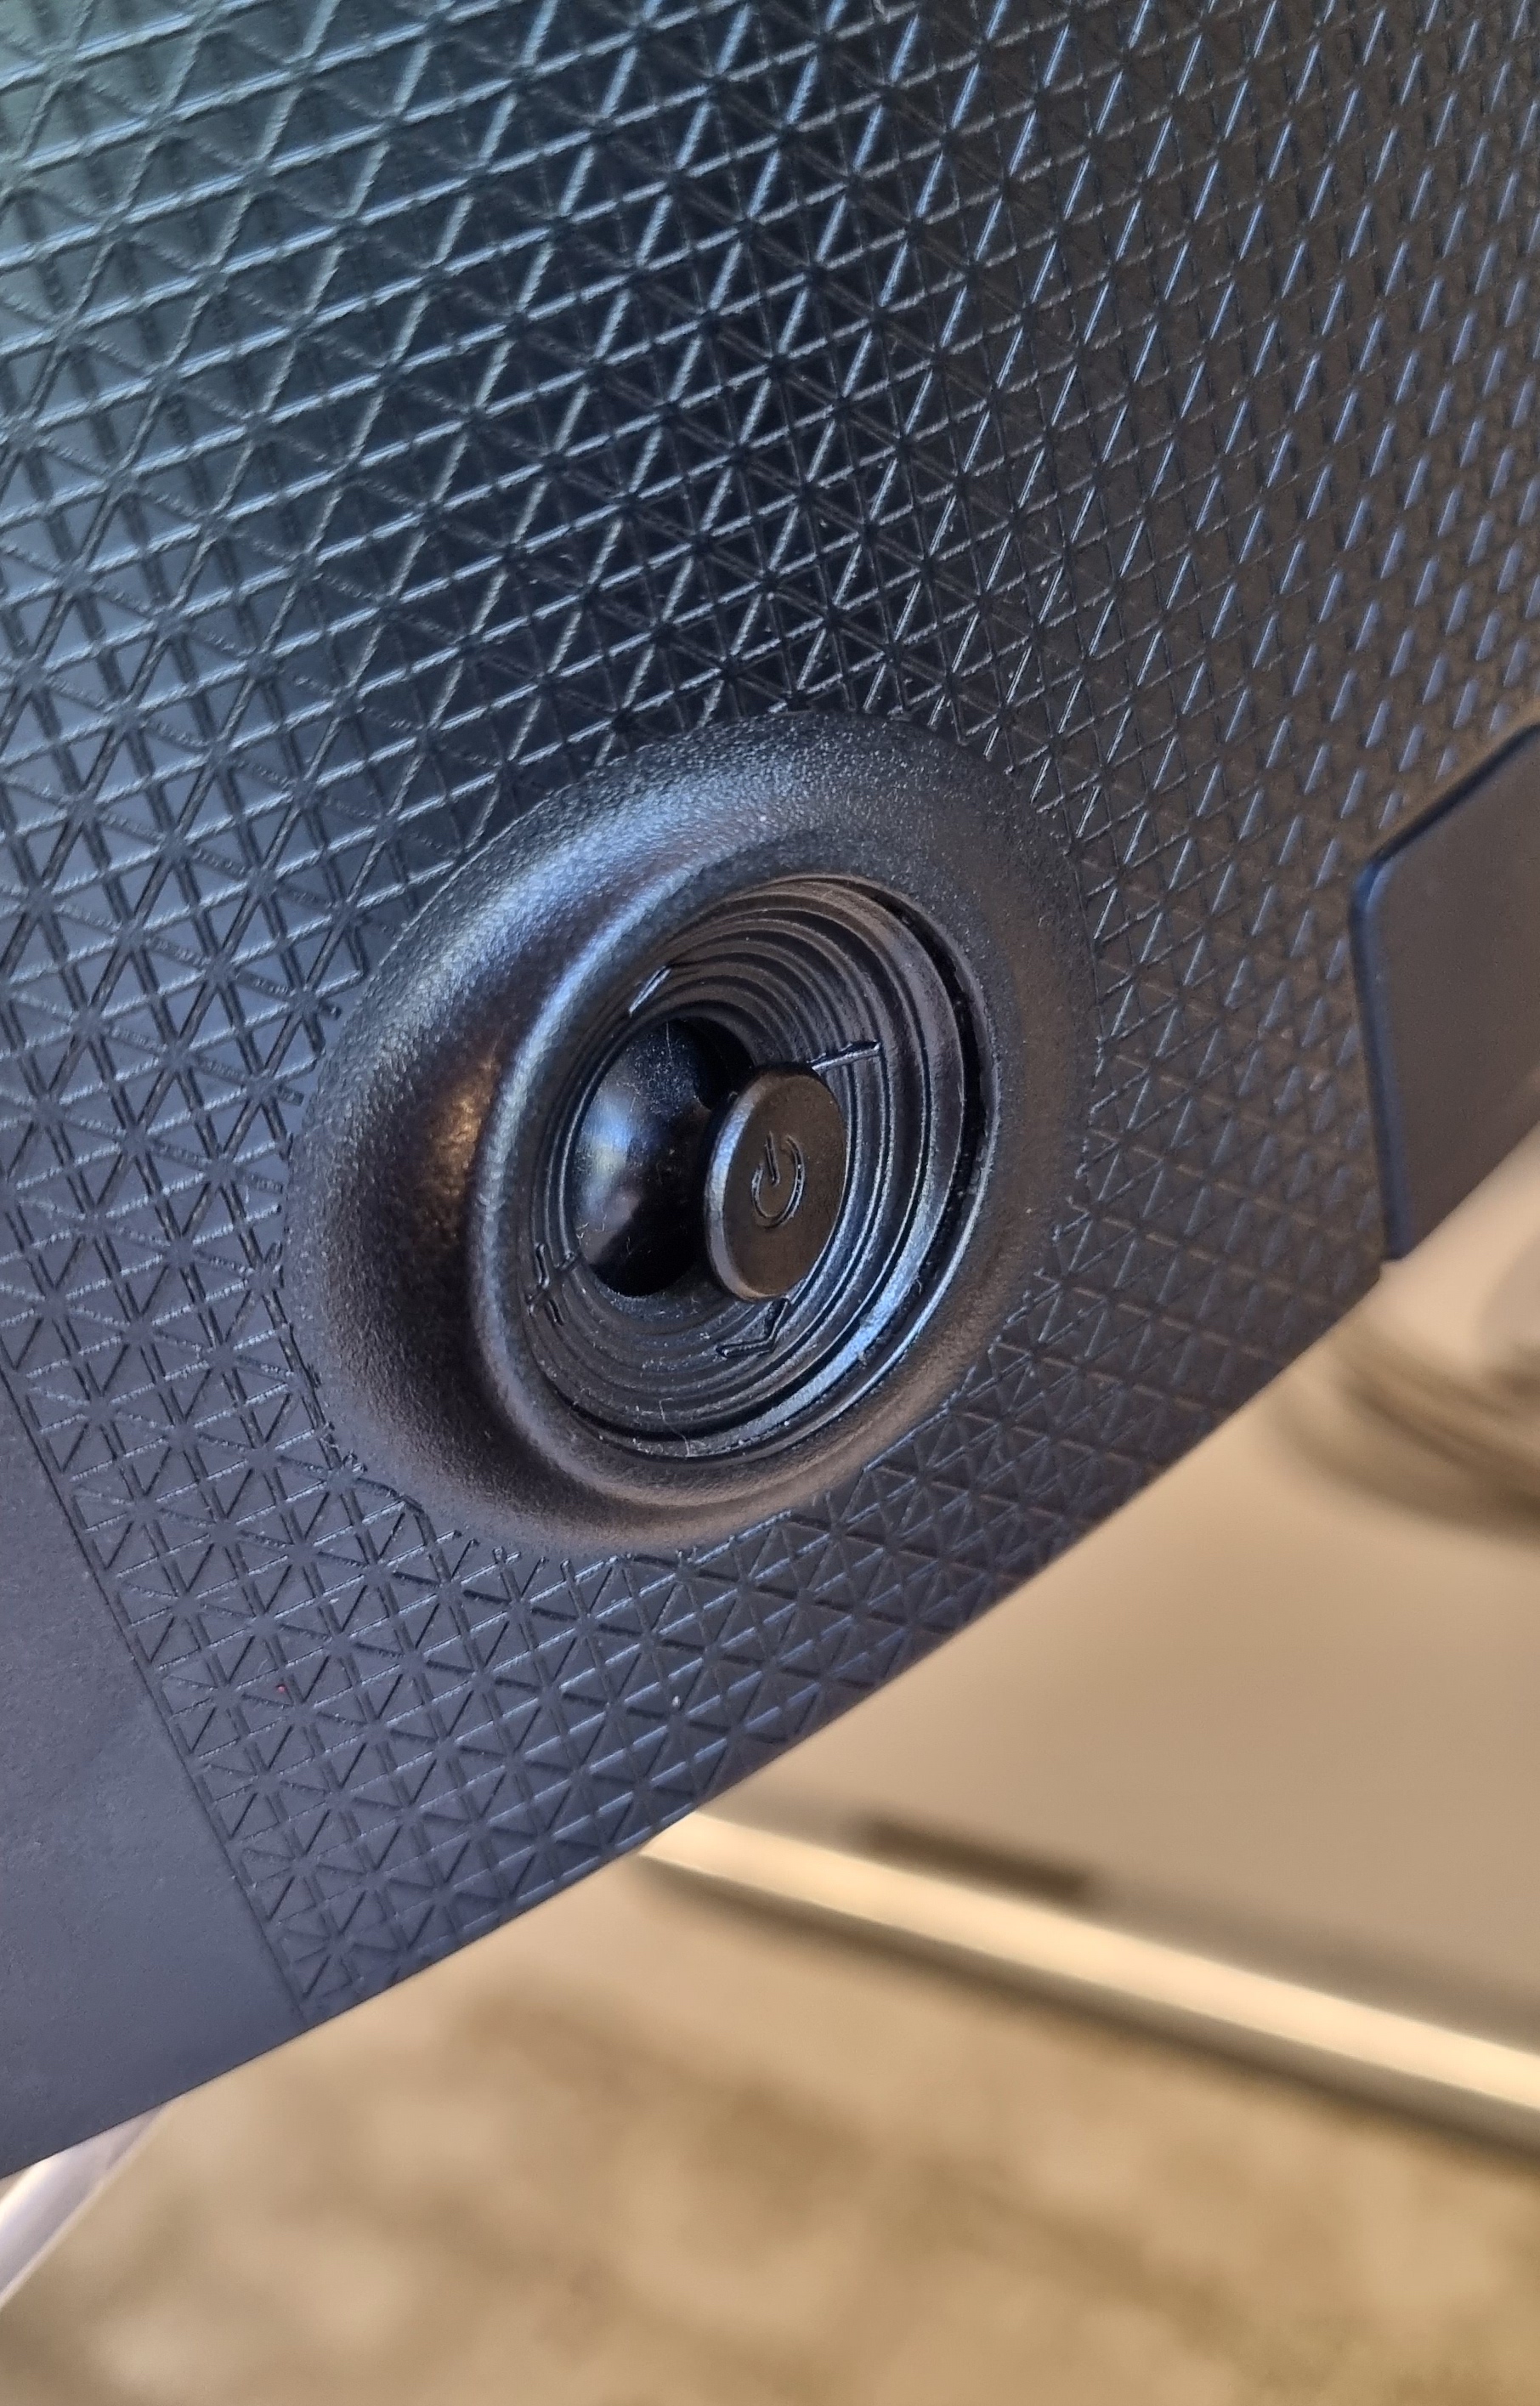
- Once the trolley is connected to power, turn the LCD display on by pressing the power button. Select HDMI1 as the Input source.
2. Connect the USB-C cable to your device.
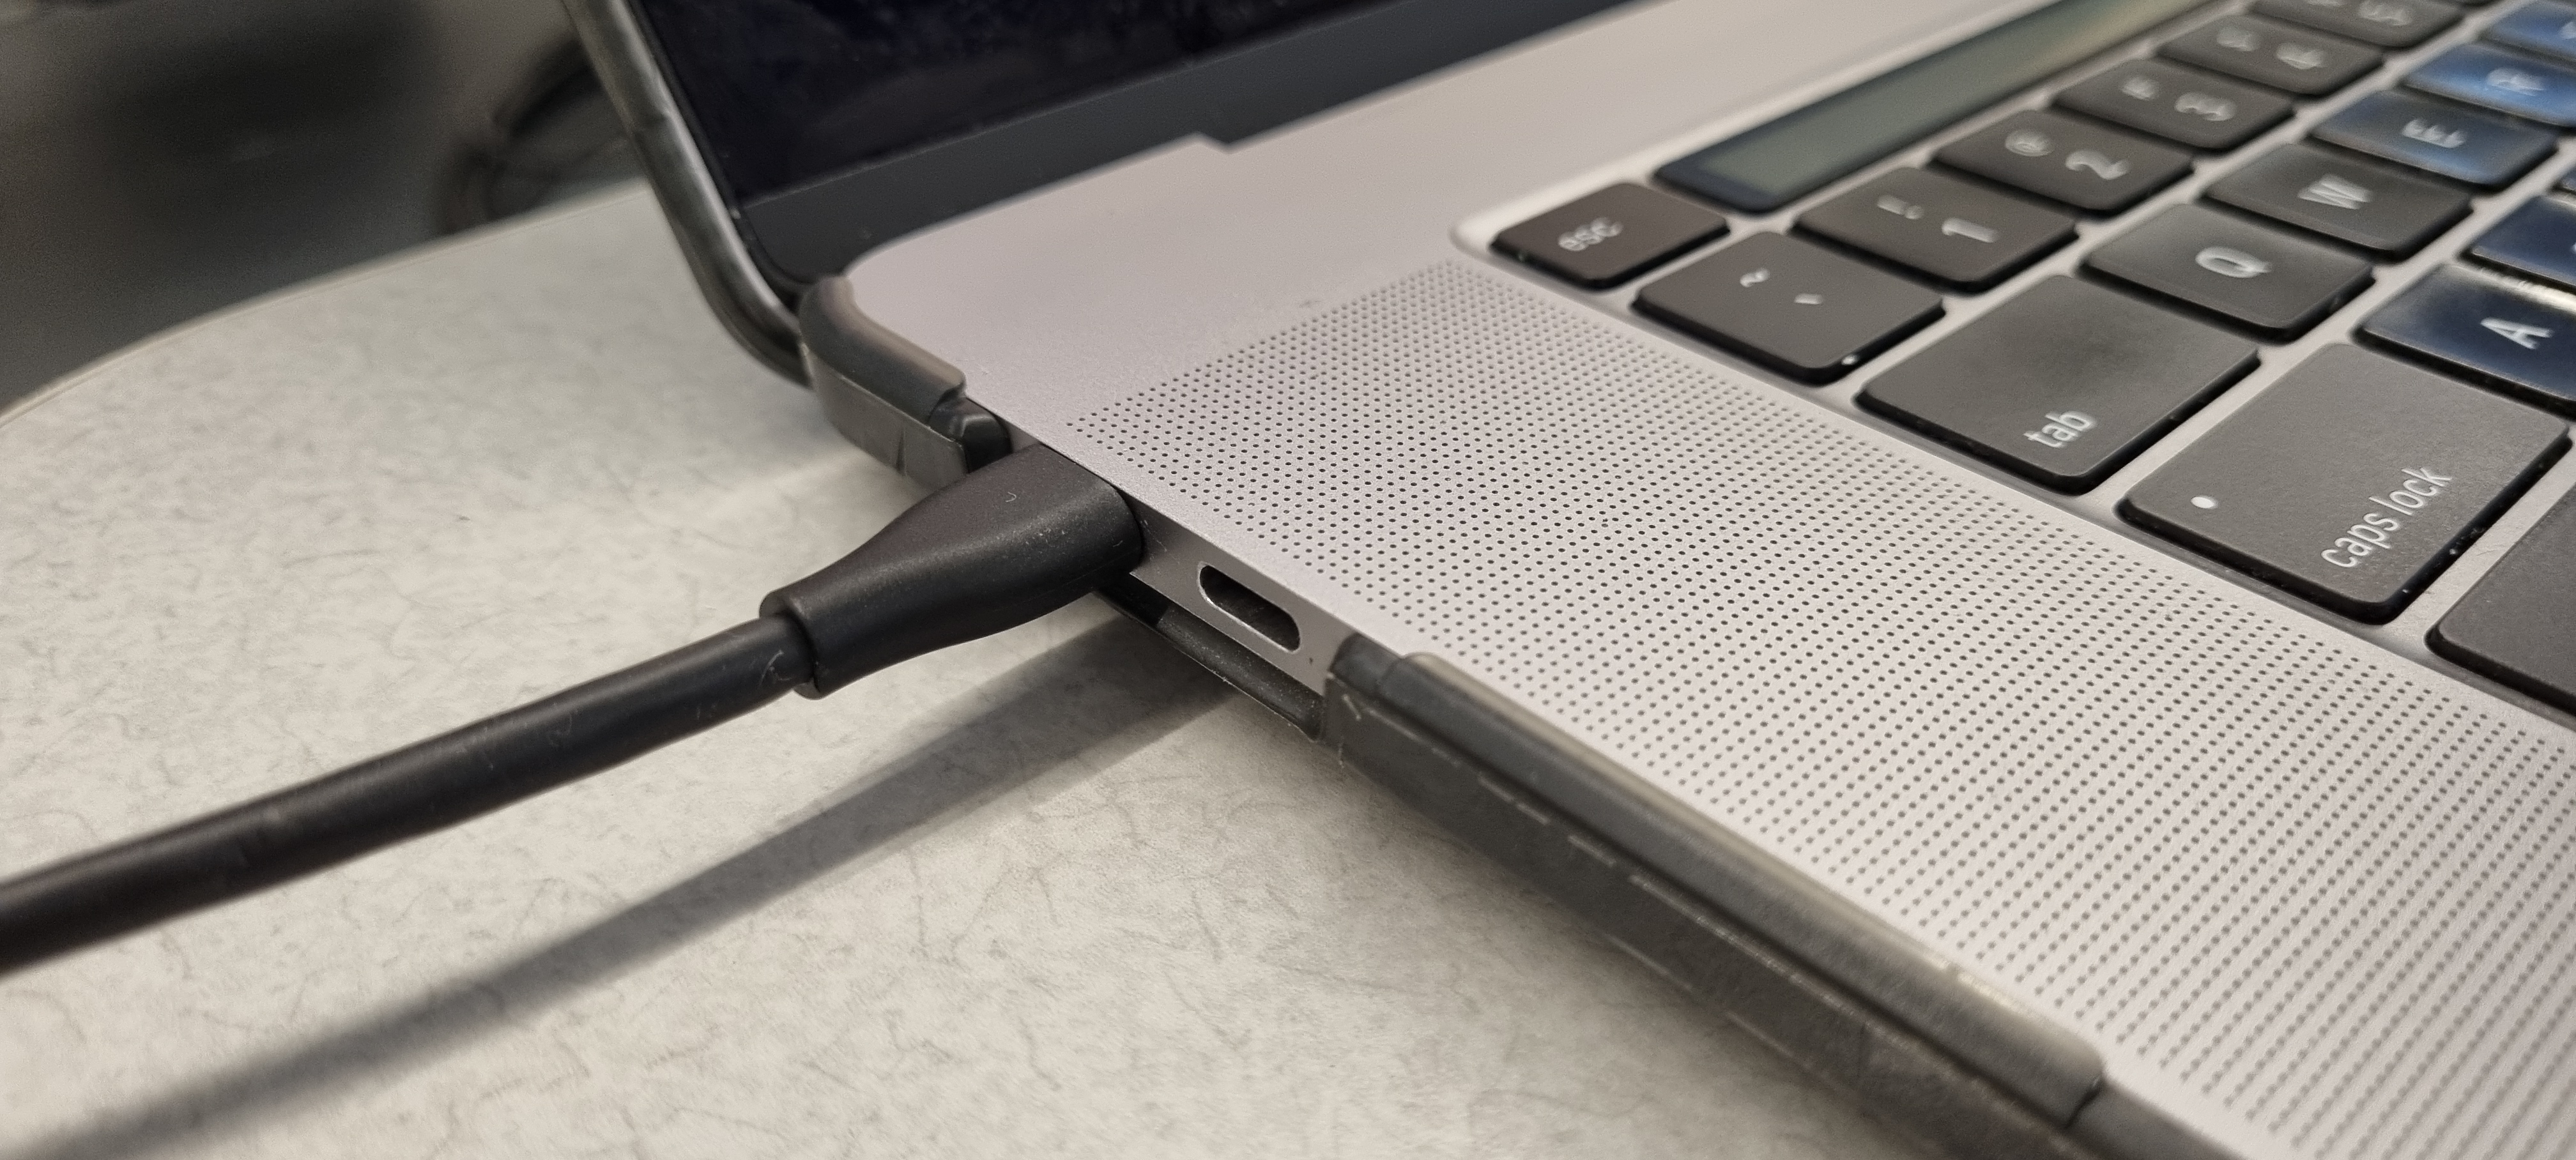
3. Open Teams or your conferencing software of choice.
4. Open the Device Settings (on other software these may be under Audio or Video Settings) and select Bose VideoBar VB-1 as the Microphone, Speakers and Camera.
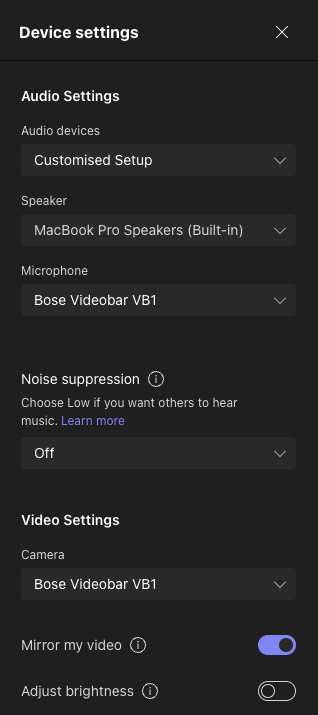
5. Make your call and adjust your camera settings using the remote if required.